While the boat was in getting fixed, I figured I’d put Gary to work and we’d complete another condo project. This time we tackled the master closet. Now this is the first time I have had a walk in closet and it can sure hold a lot of stuff.
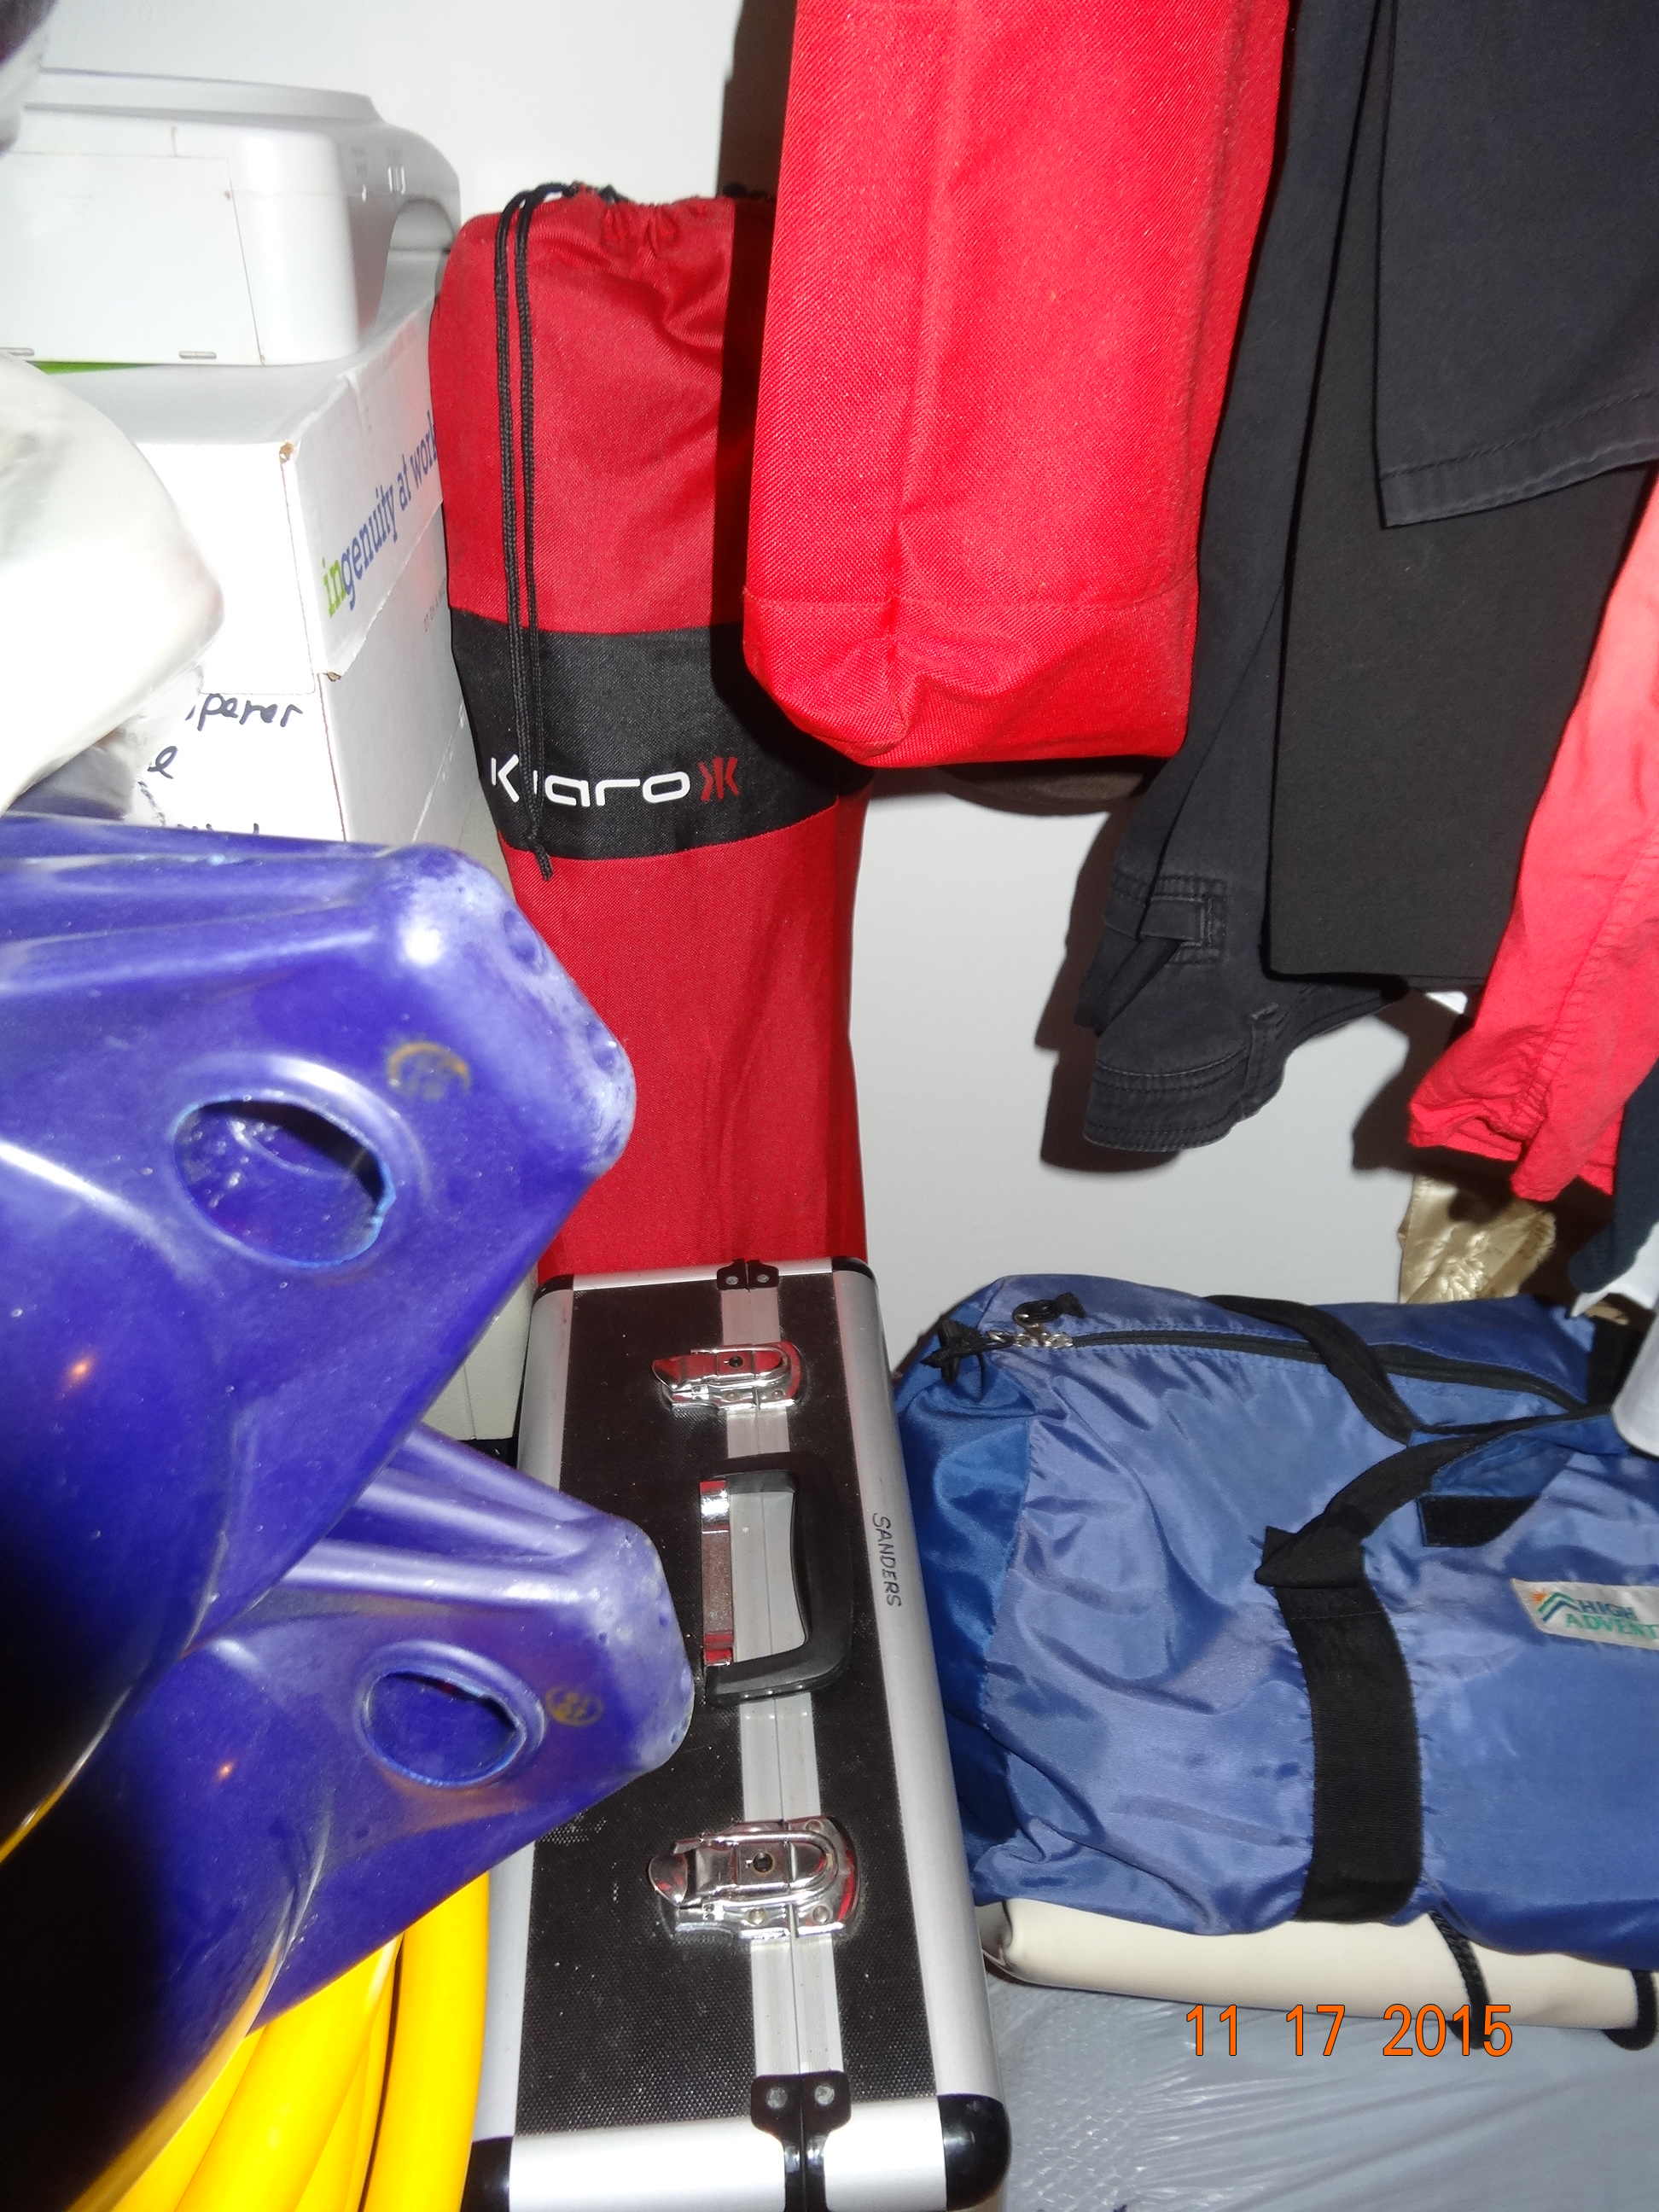
Stuff
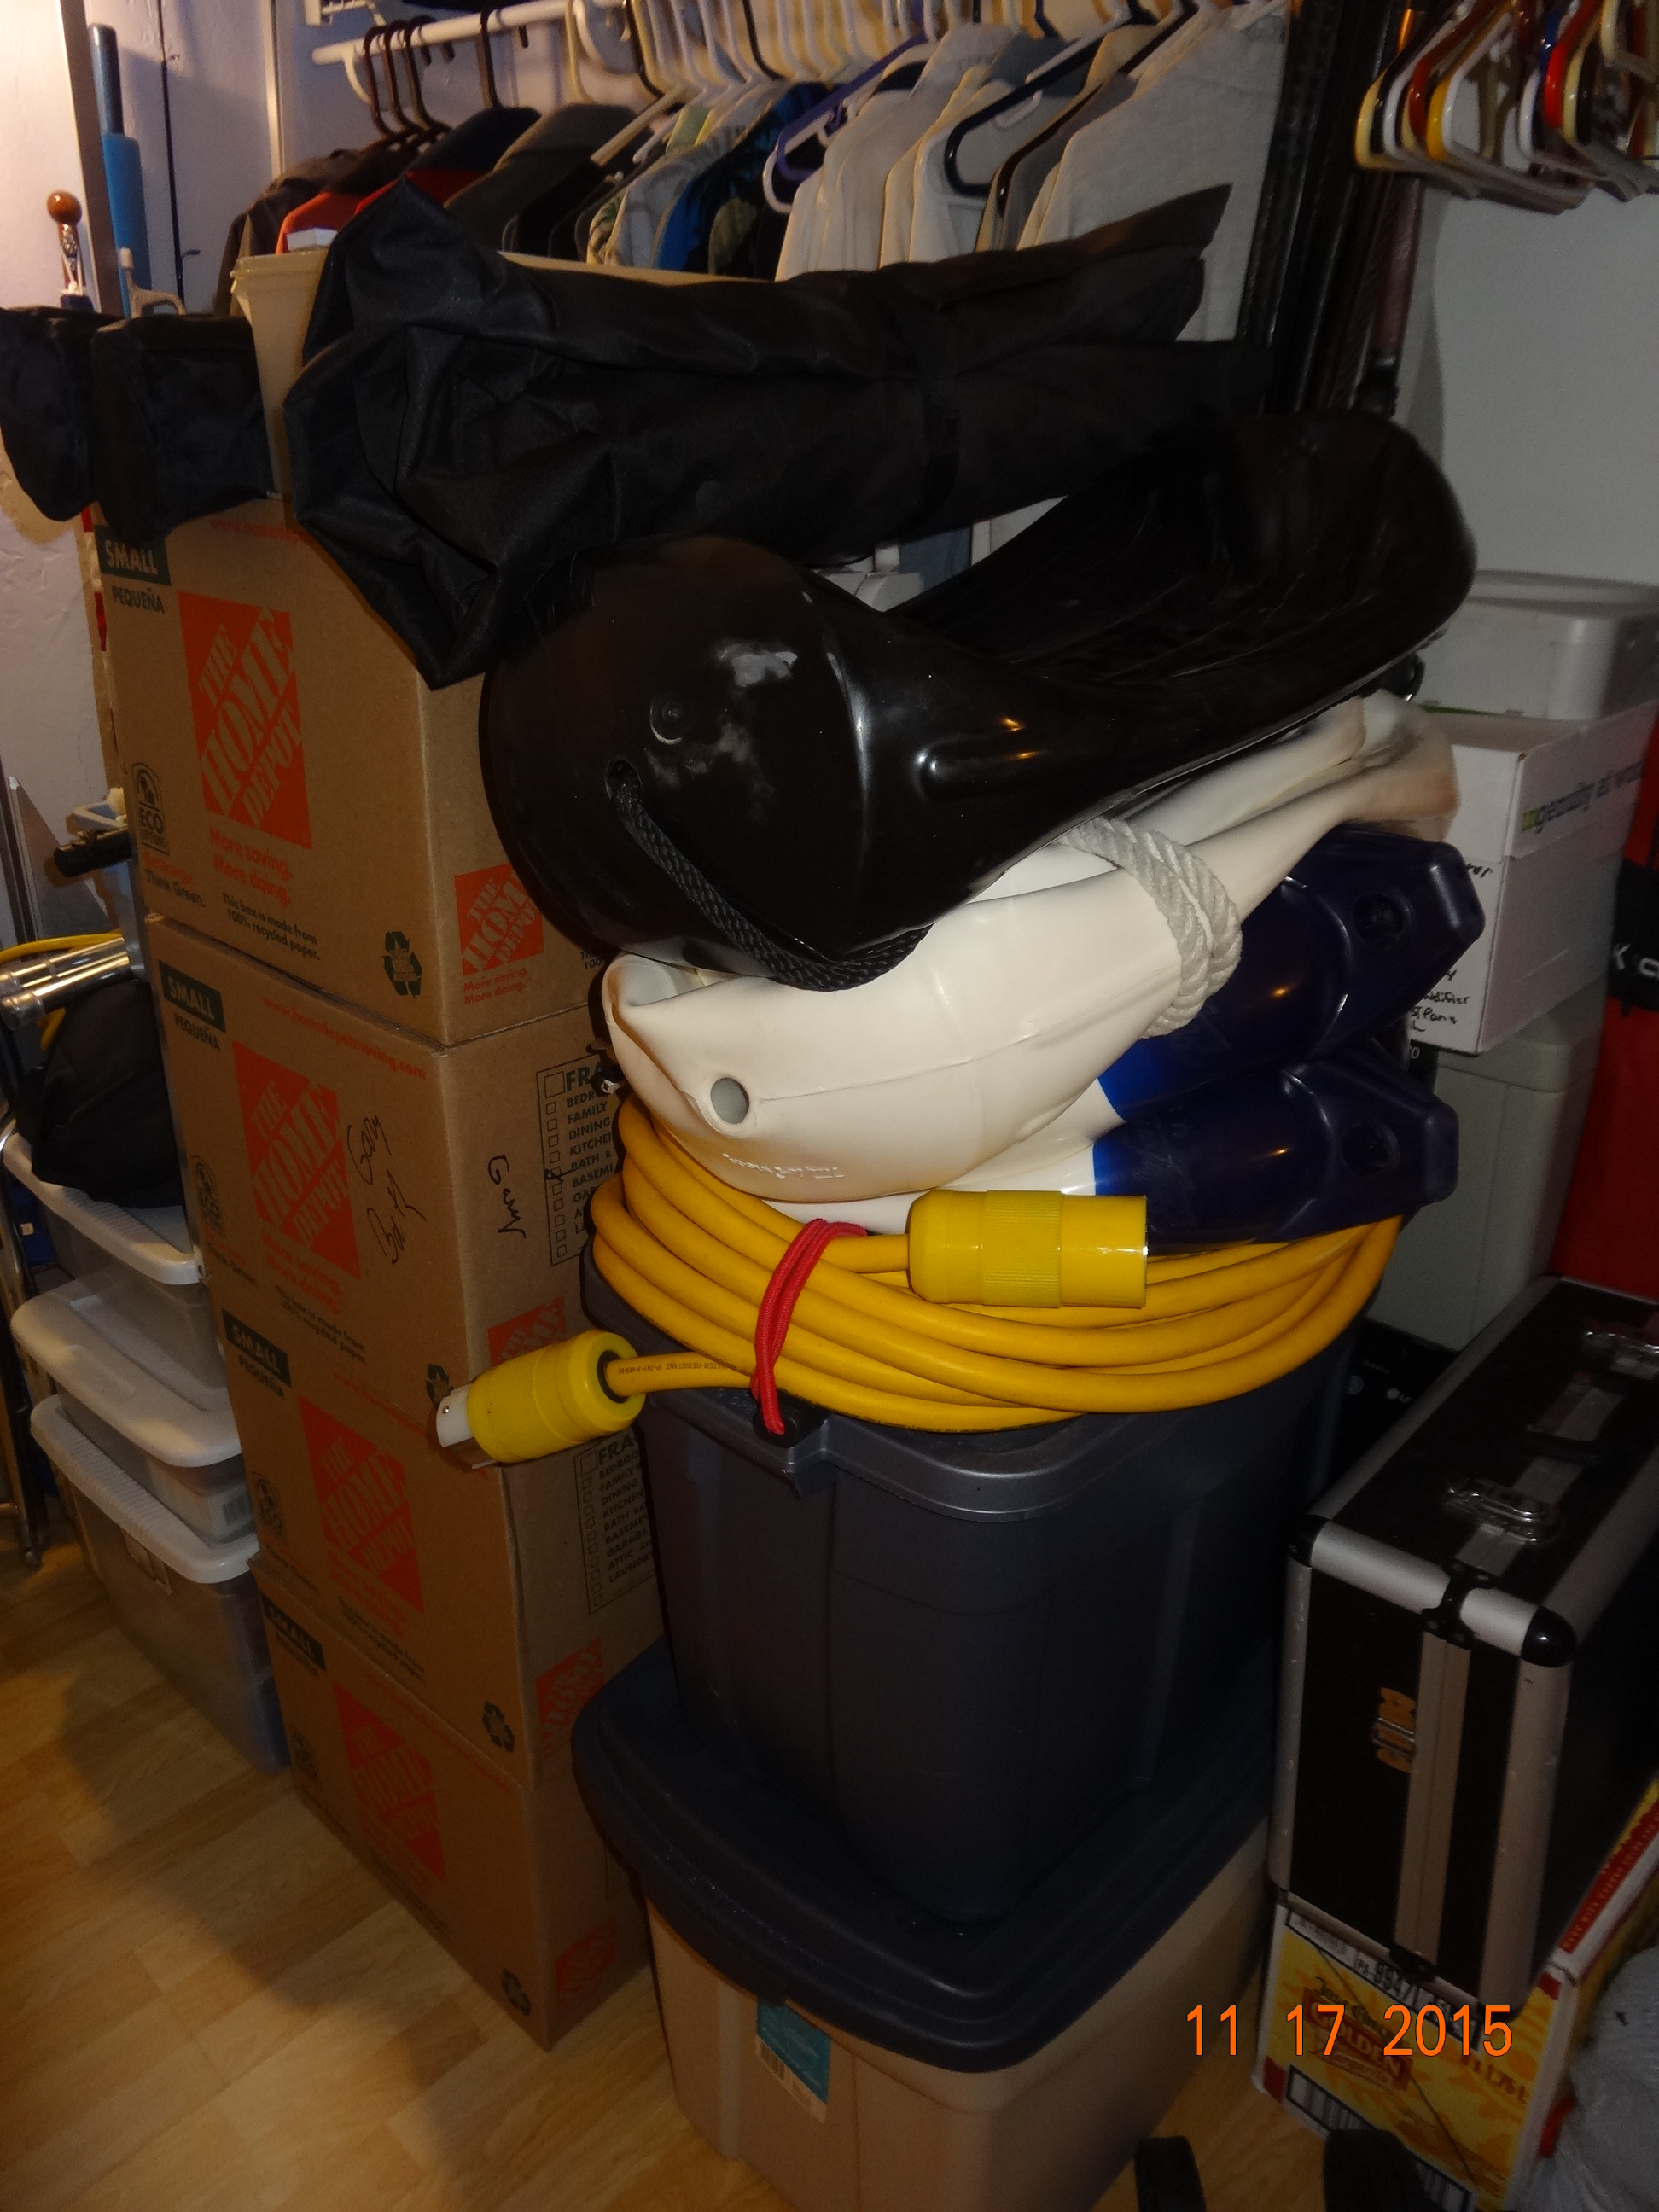
Stuff
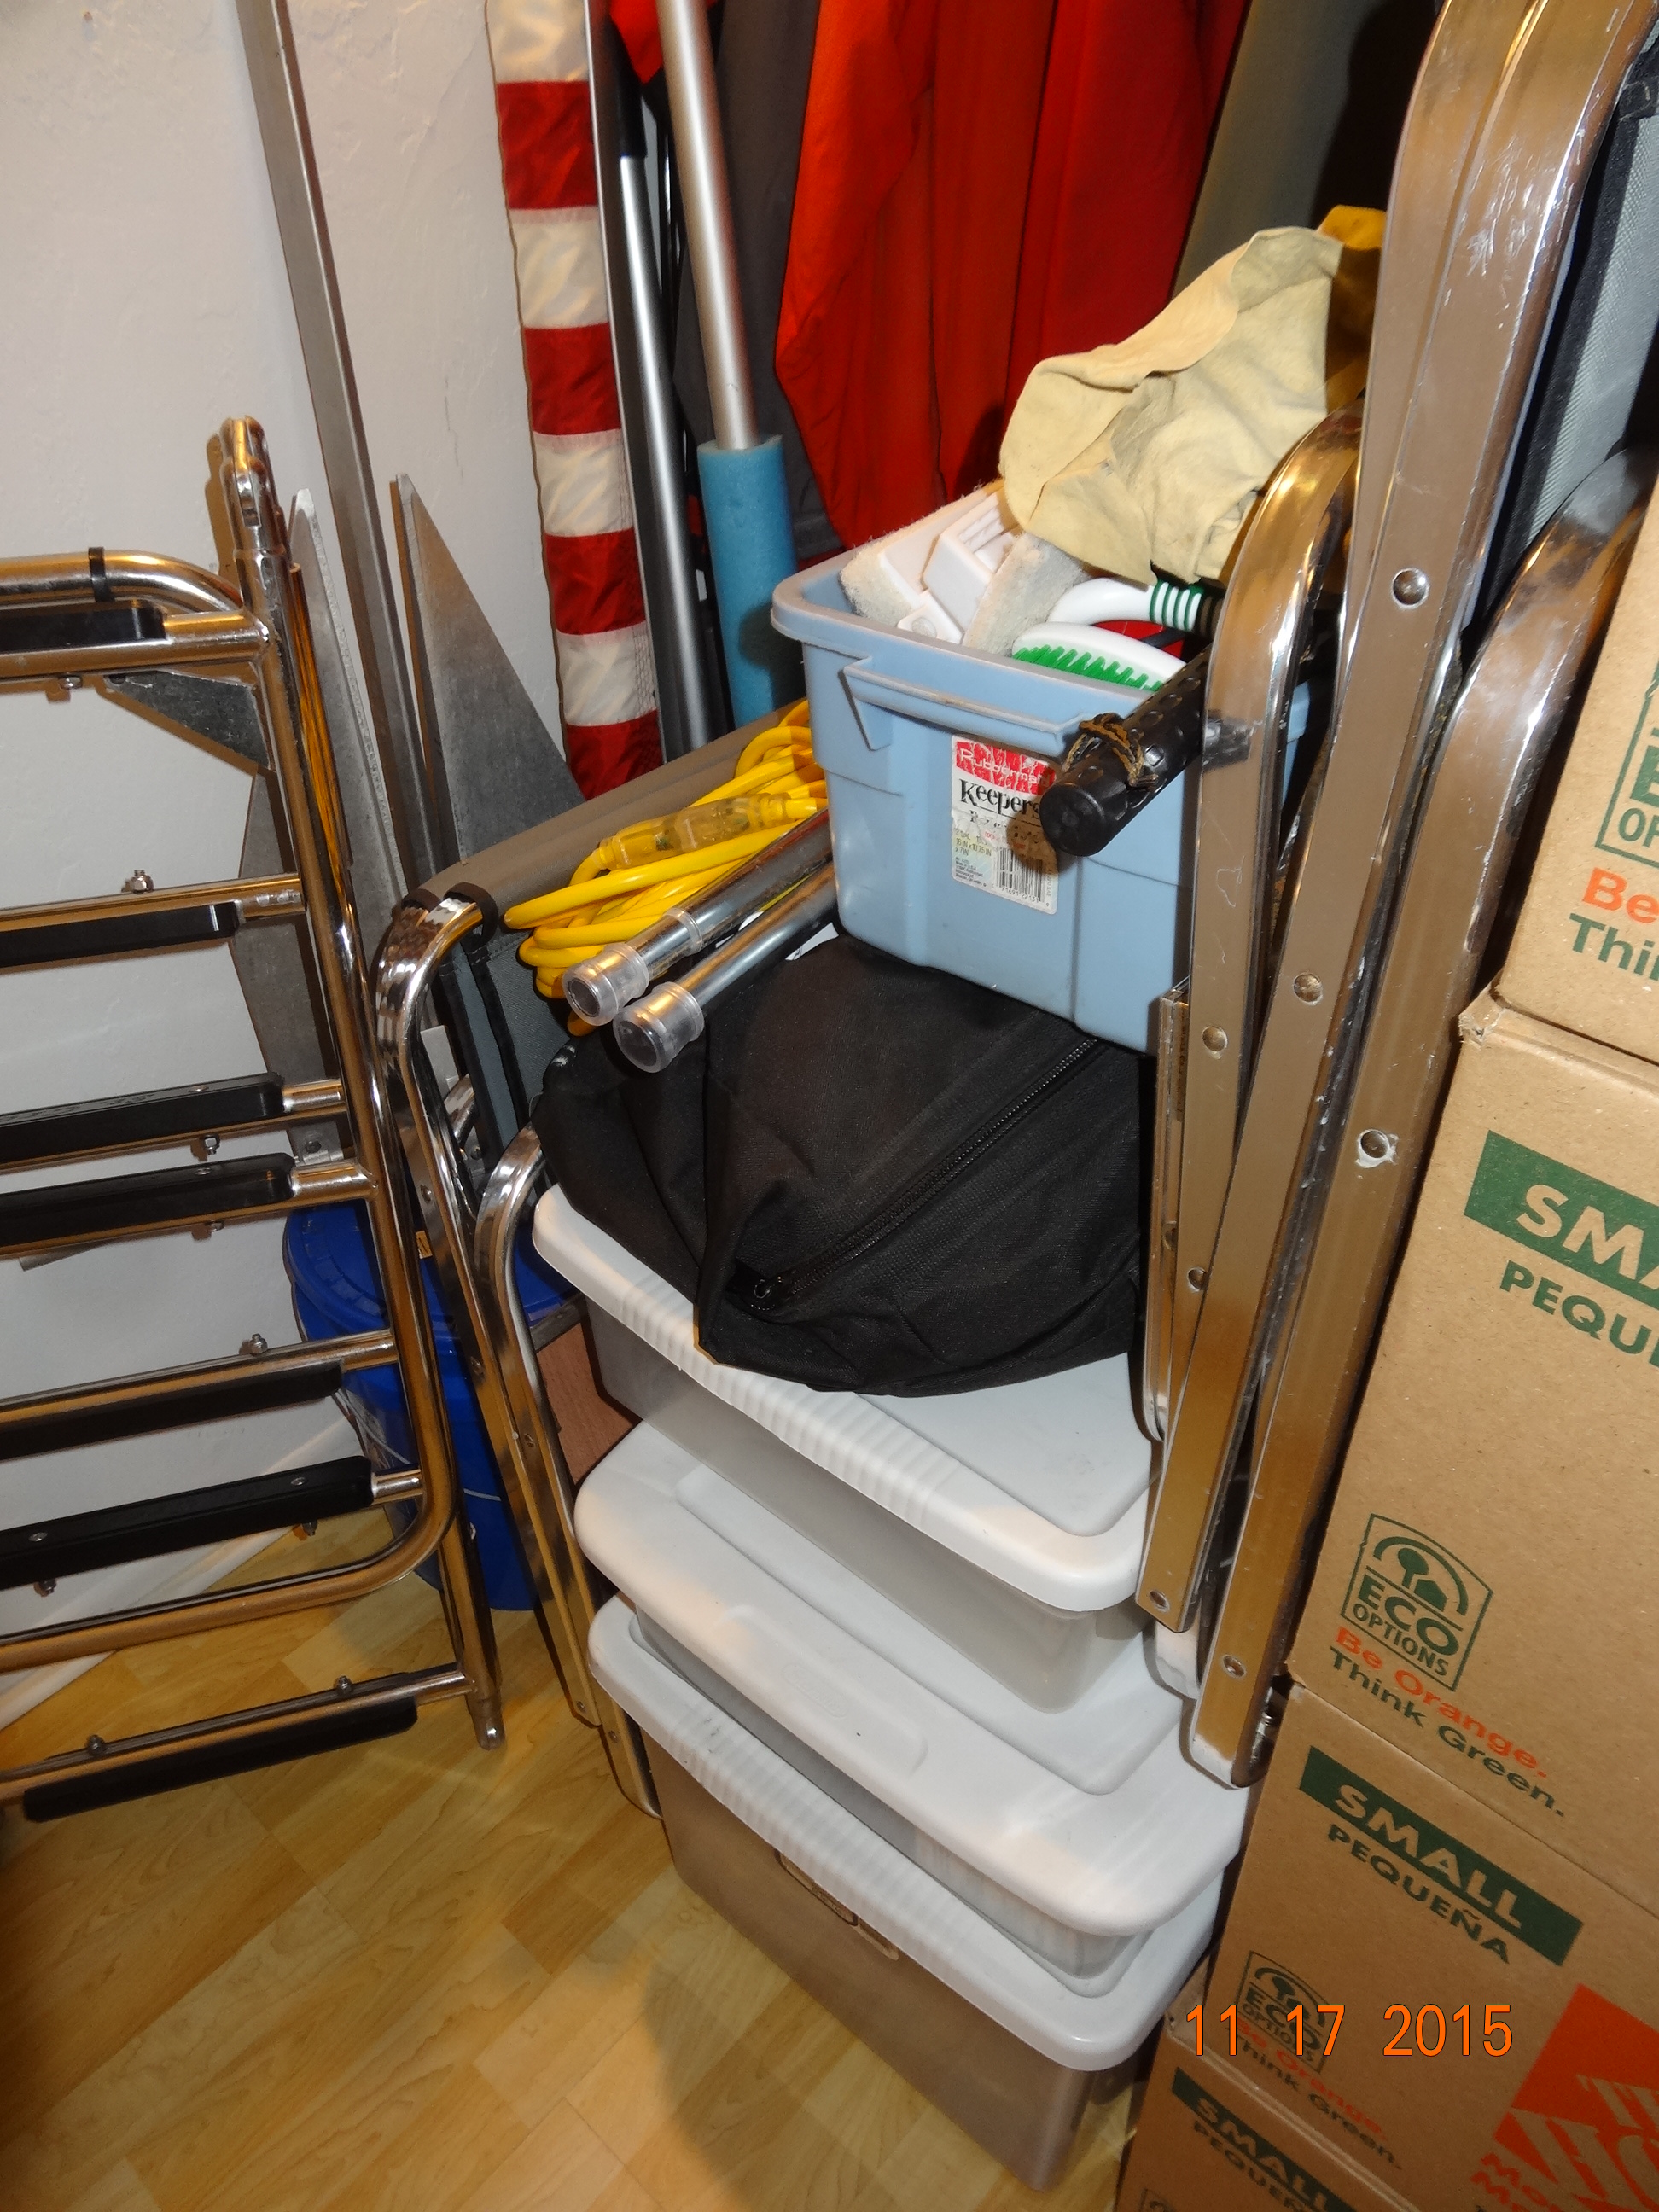
And more stuff
Can you see a theme in those pictures? Looks like a lot of boat stuff.
So it’s off to one of our favorite stores, Lowes, to see what kind of shelving we can find.
We find just what we need. Some shelving for the storage area outside and some shelving for the walk in closet. We start with the storage area outside first. Now ya know Gary couldn’t start to organize without cleaning first, so he cleaned out the area and then foamed all the cracks to keep the little beasties from sneaking in

Foam up those cracks
Then he built the shelf, which was pretty easy, and then started packing
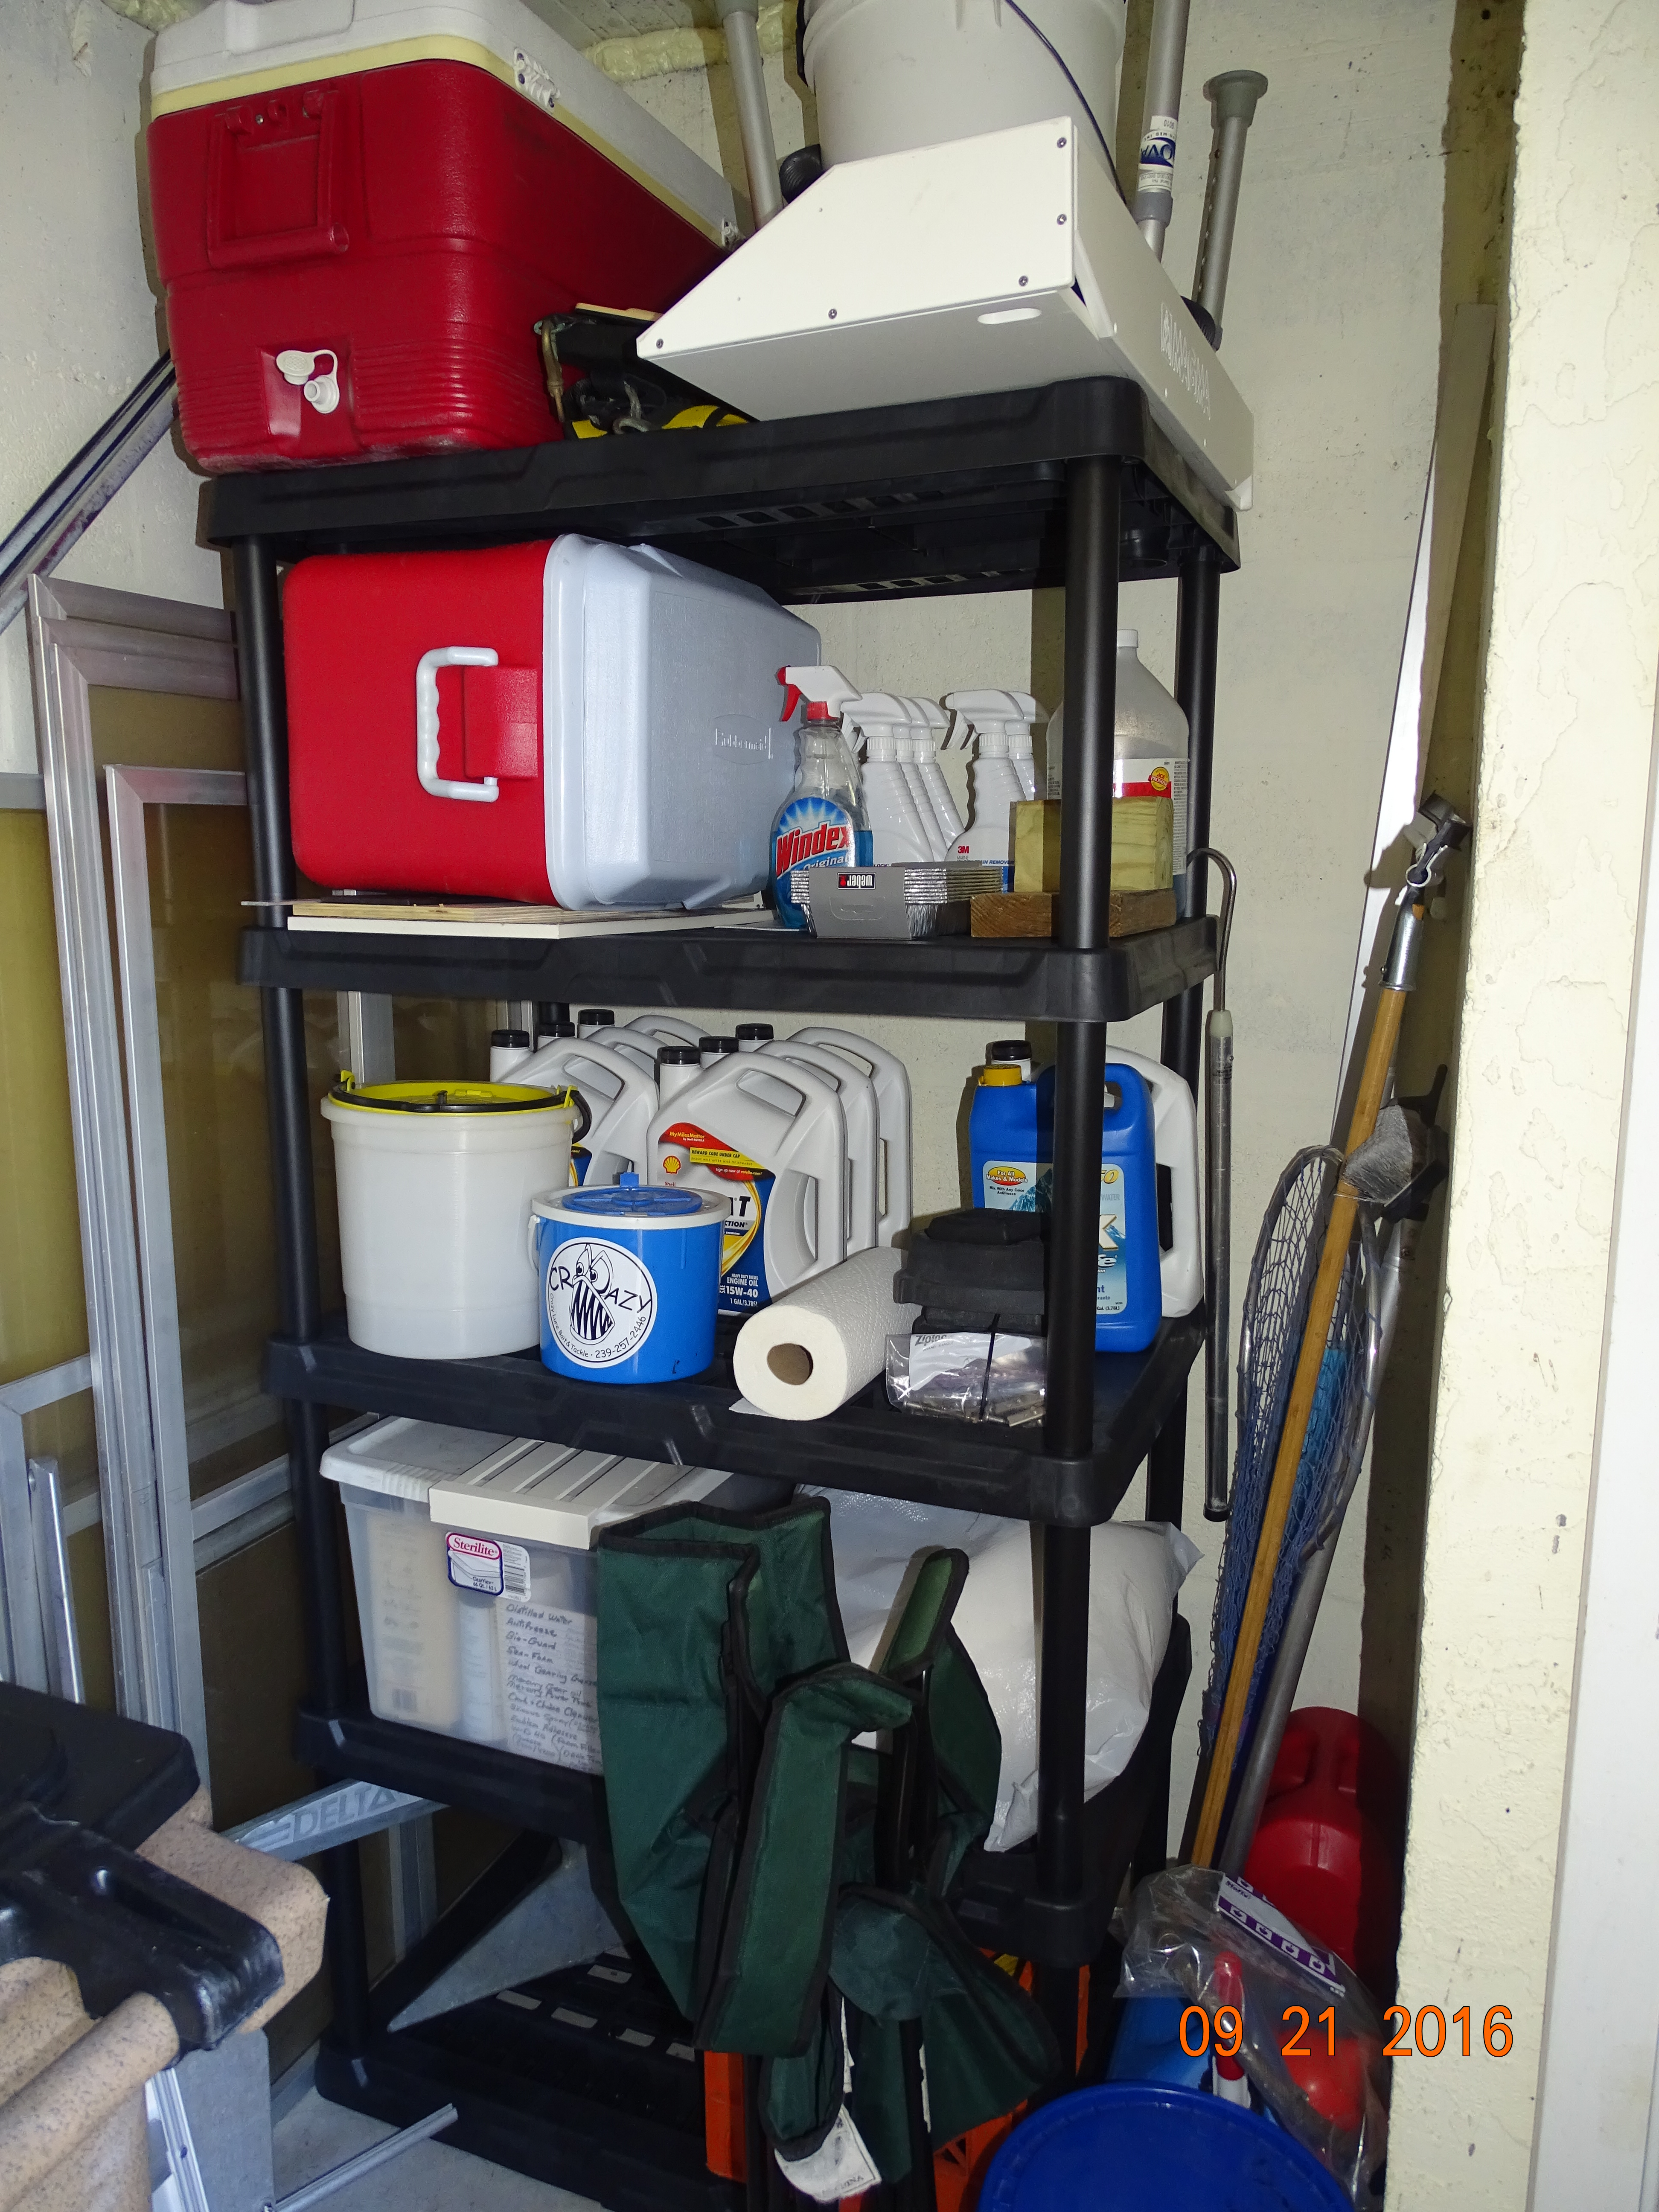
Nice pack job
He always does a good job of packing things in.
The next job was getting the walk in closet ready. First we have to get all the stuff out. Then we have to take down the shelving that is in there. Then we have to find the studs in the wall. We don’t have a stud finder so Gary finds them by pounding nails into the wall to find one stud, then he pounds a few more nails in the wall to find the center of the stud
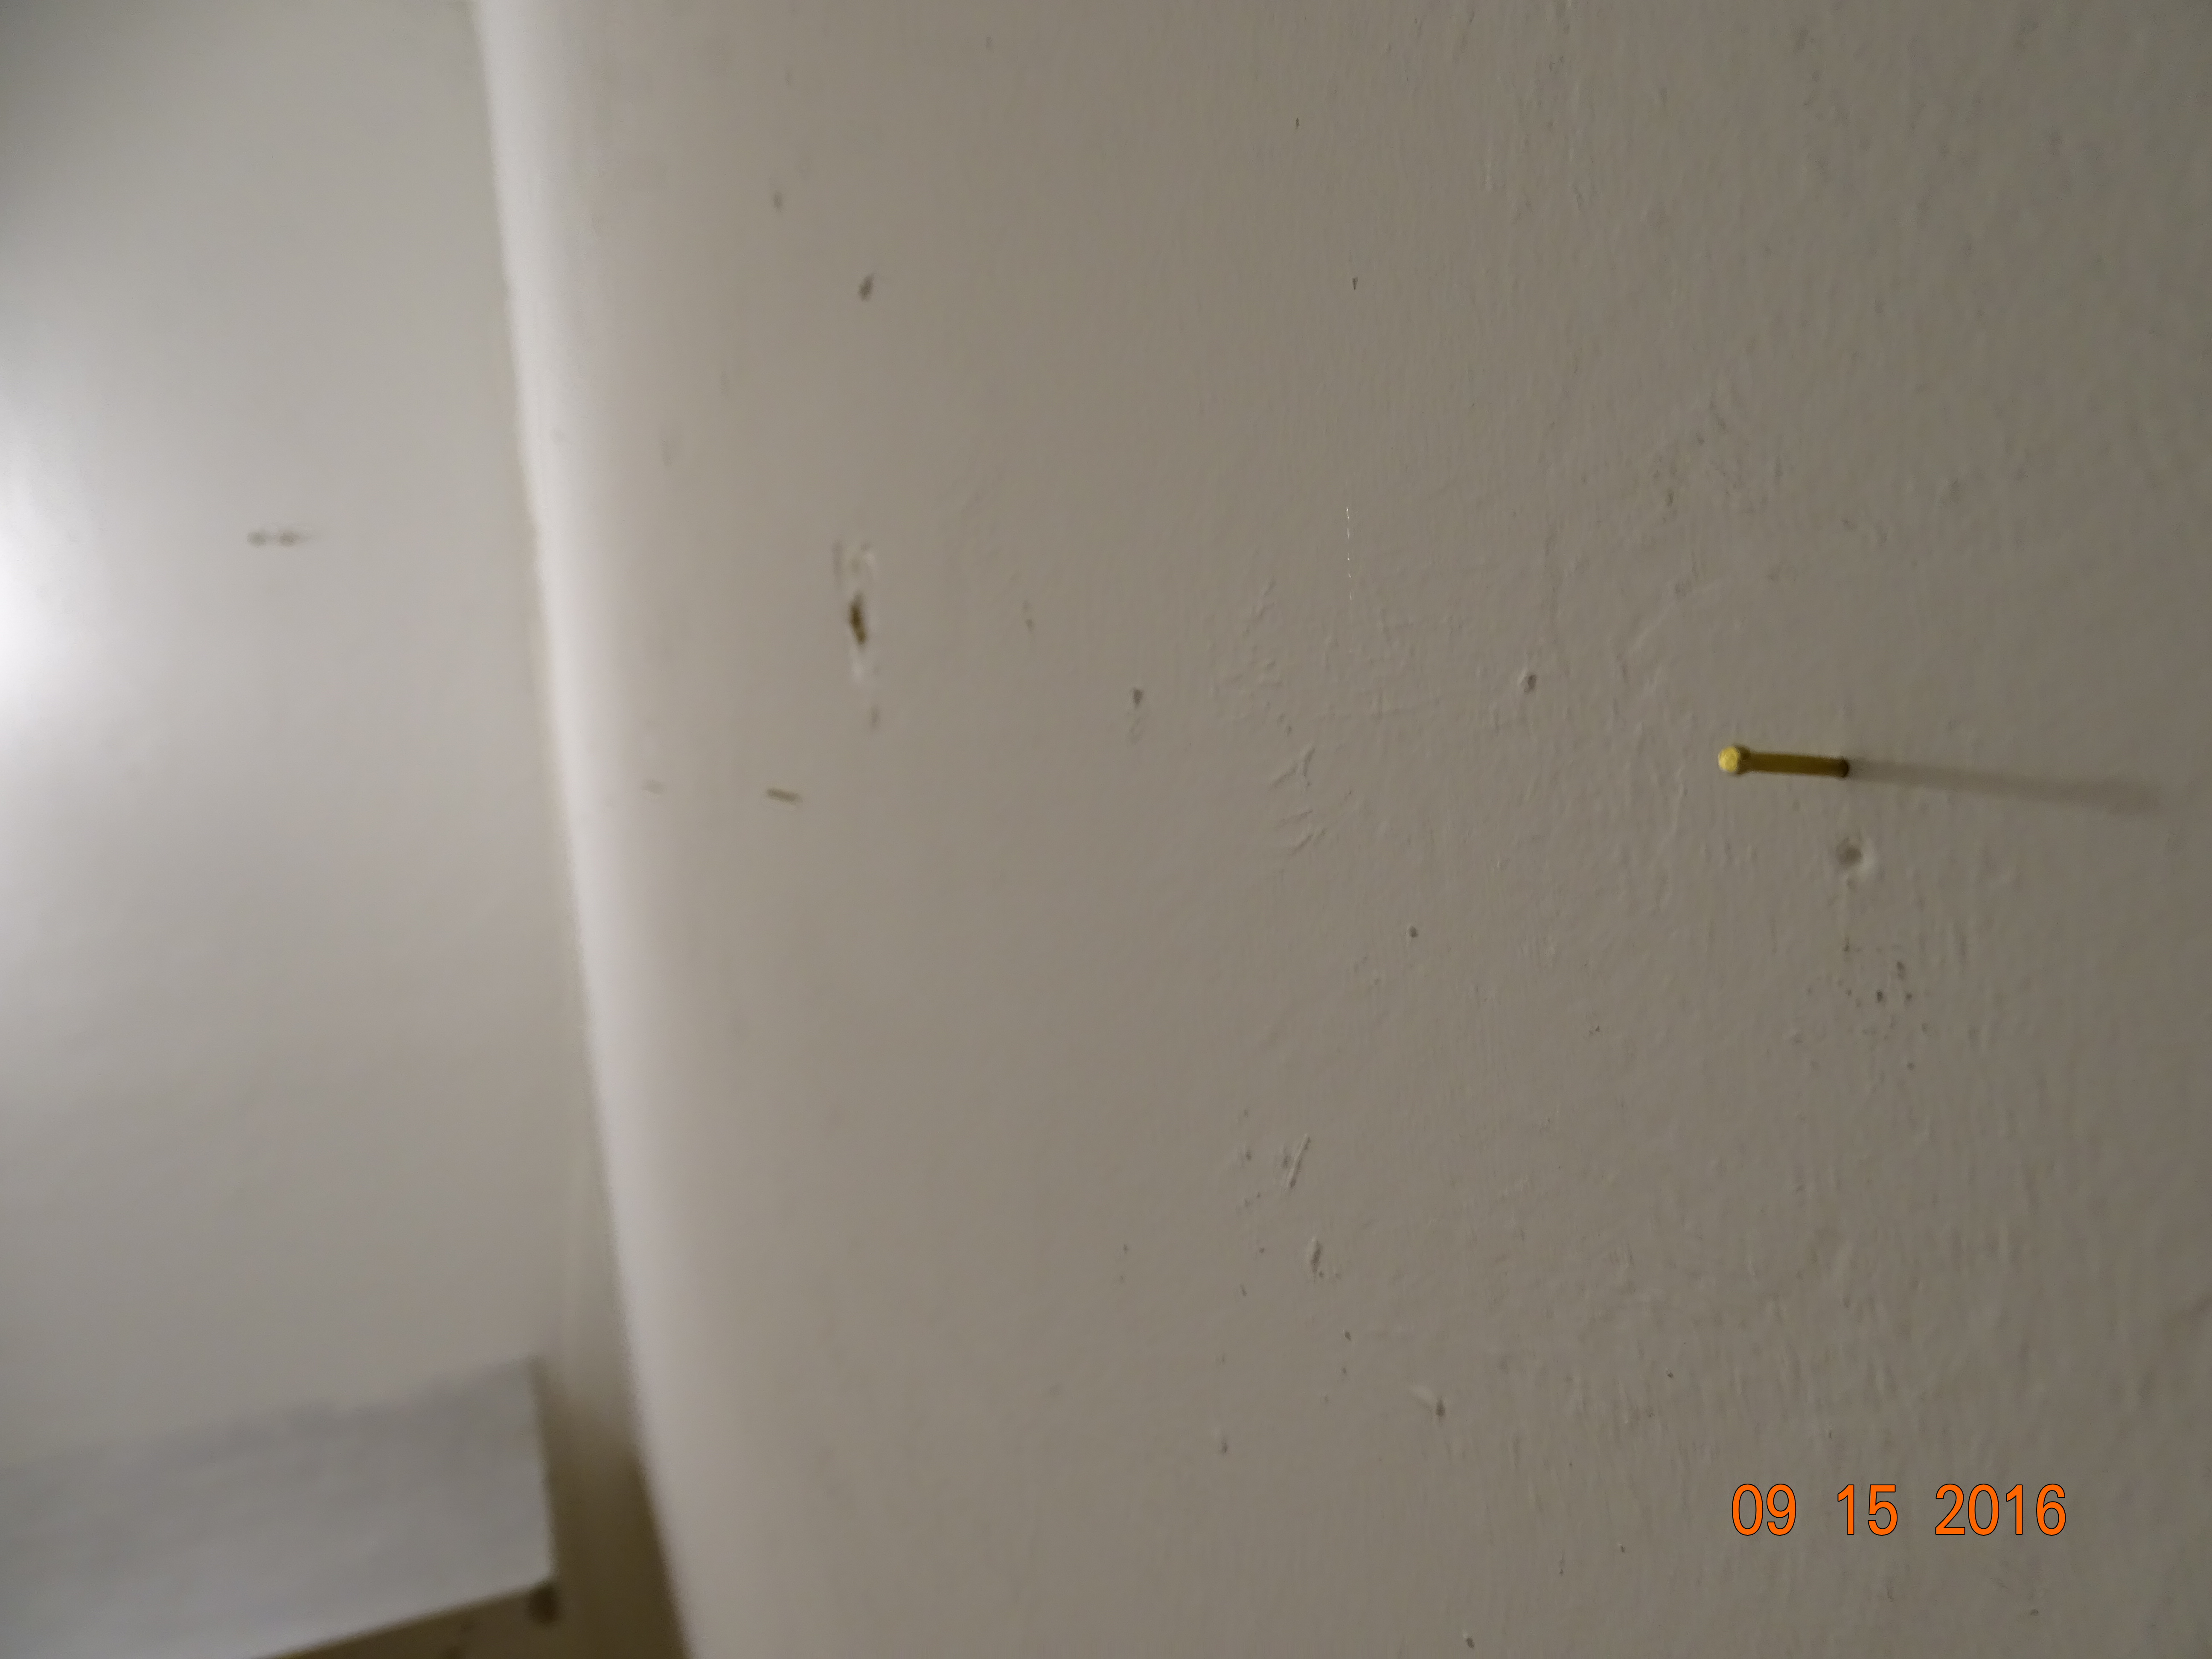
Found the stud
then measures 16 on center to find the rest :). Of course if I need to find a stud I just go get Gary ;).
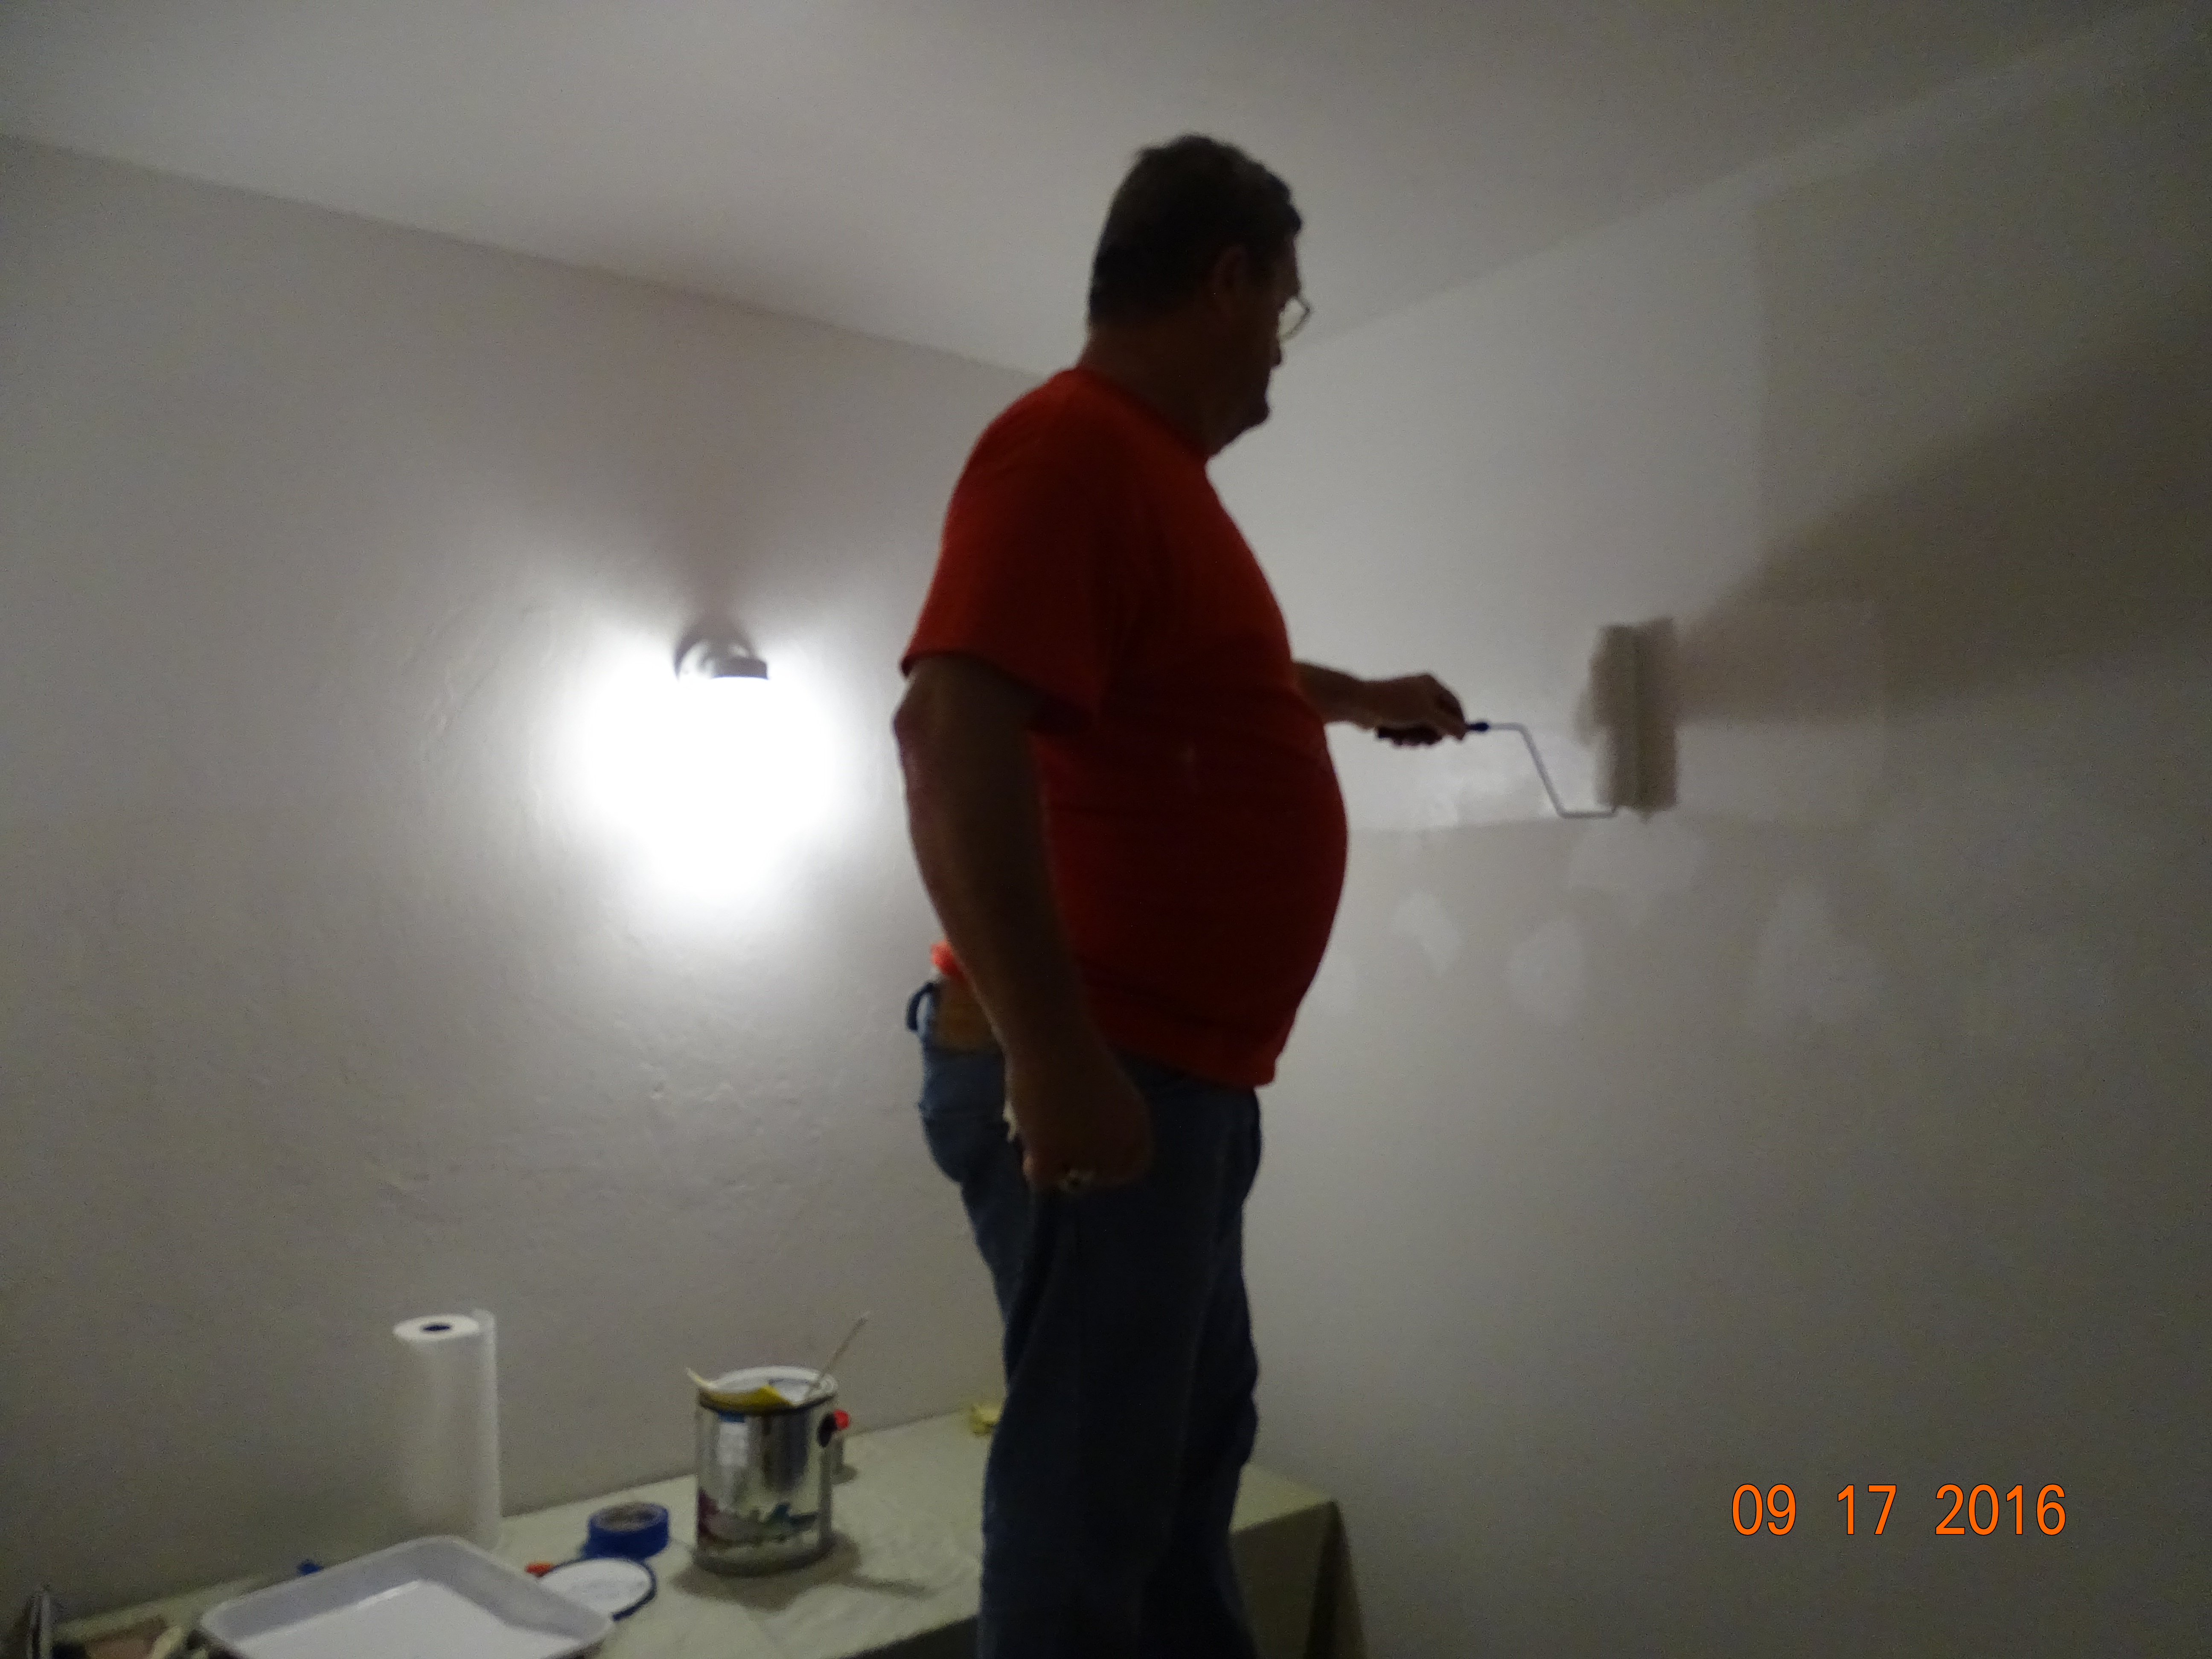
Then it is time to paint
So then we put together our first shelf for the walk-in closet. We bought one that was more heavy duty to hold all the heavy stuff. A nice stainless steel one. That went together lickity split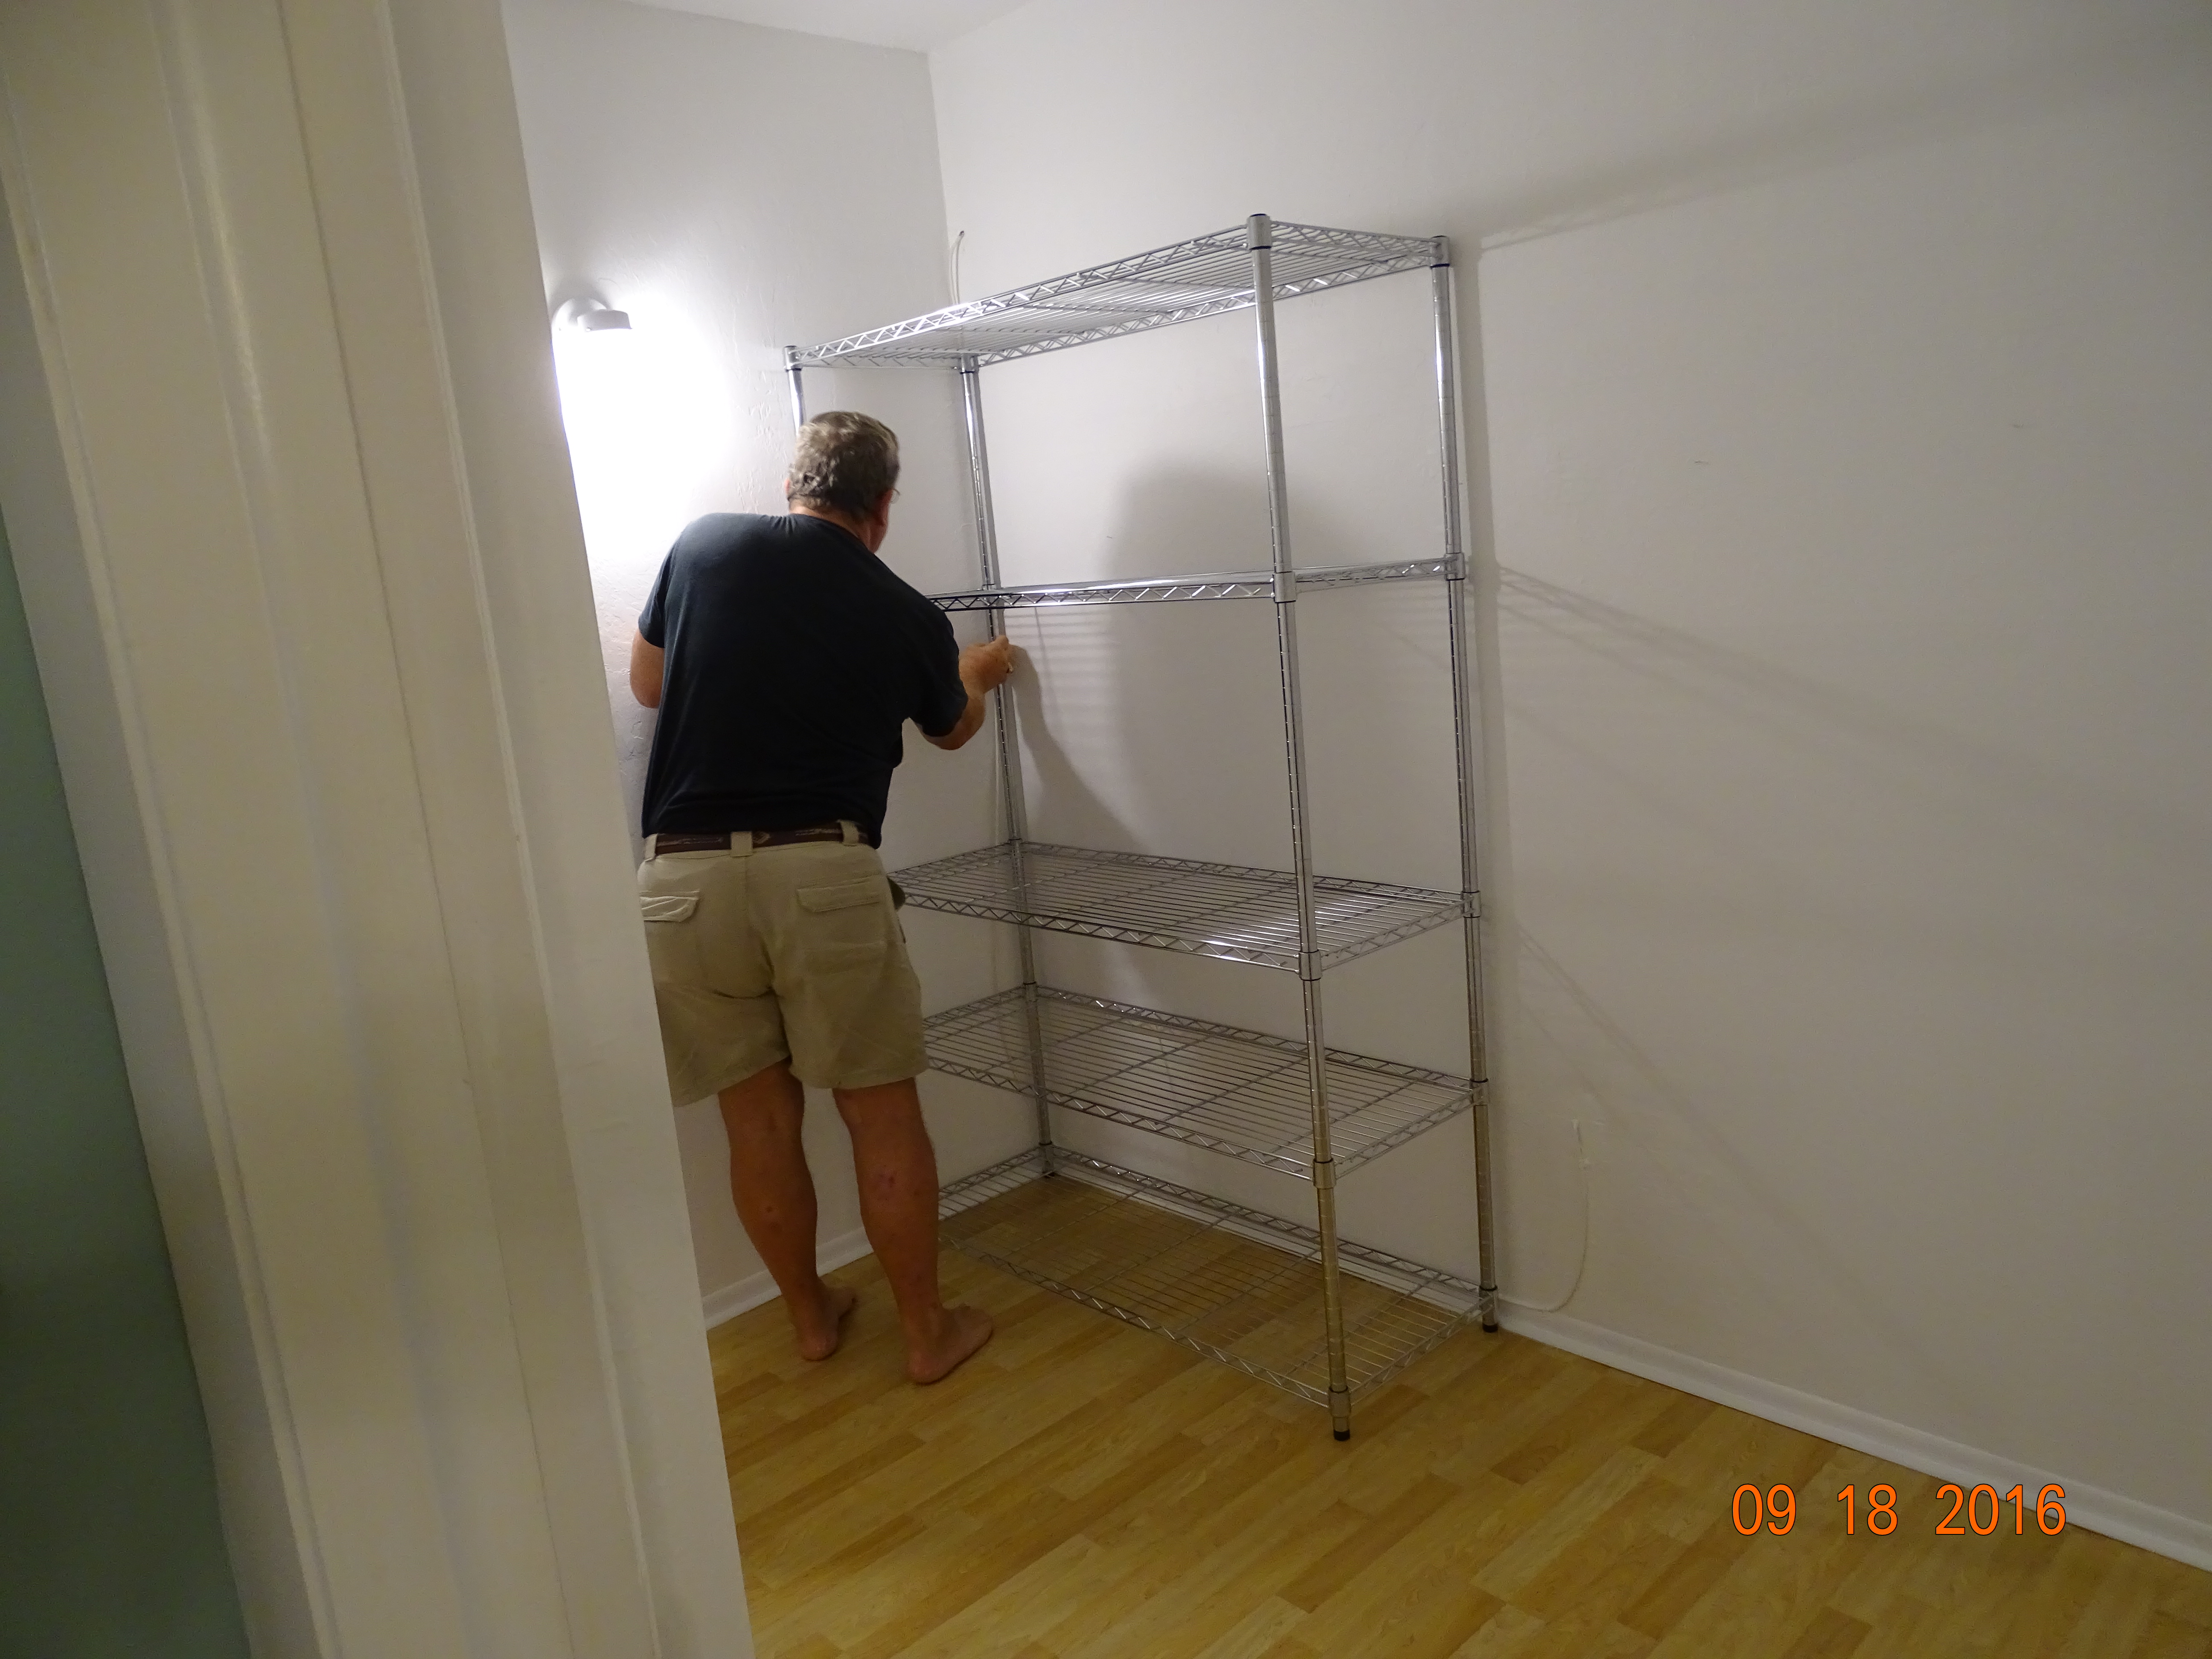
Then Gary packed it with some of our stuff. 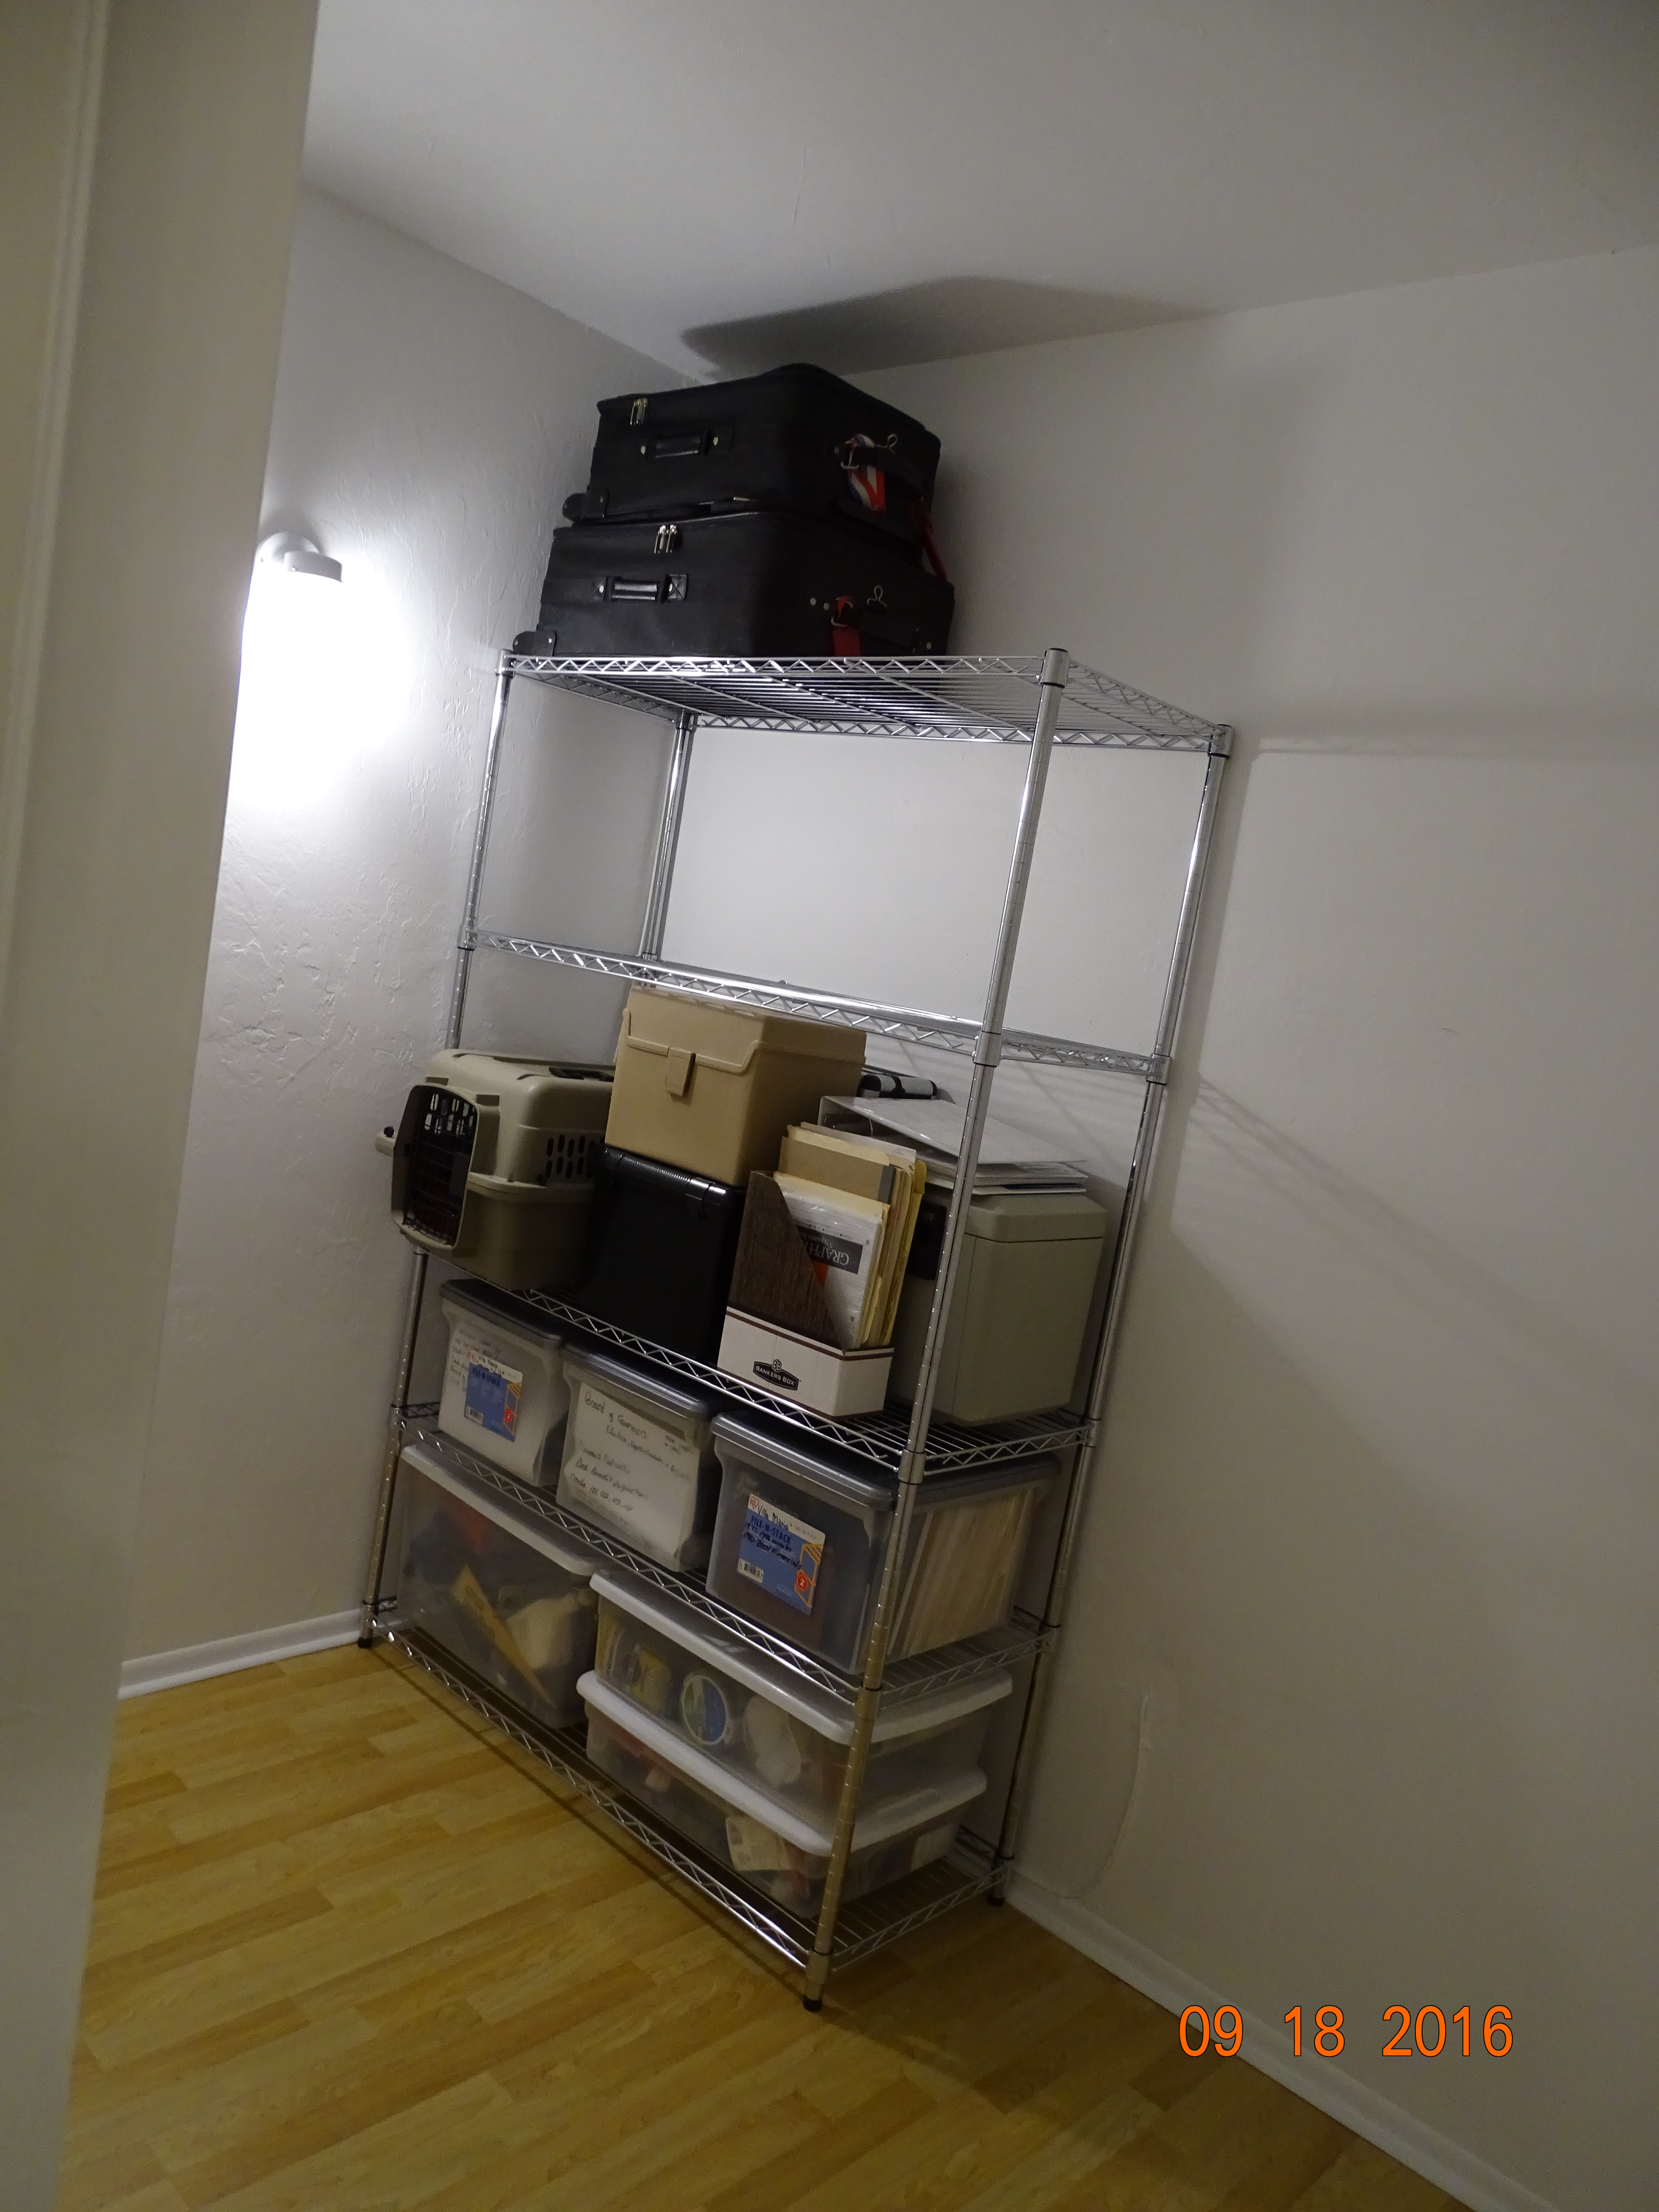 I keep calling it stuff but it really is our most precious items.
We bought a pretty one for our clothes. It came in 8 boxes. Hmmmmm, I’ve put a bunch of desks, chairs, shelves together at the old law firm, how hard can this be? Well according to the instructions, it should take us 3 hours and 45 minutes to build the shelf, drawer, two wire baskets and two shelves with rods. Ha! 3 days later we were all done.
I started with something simple, the drawer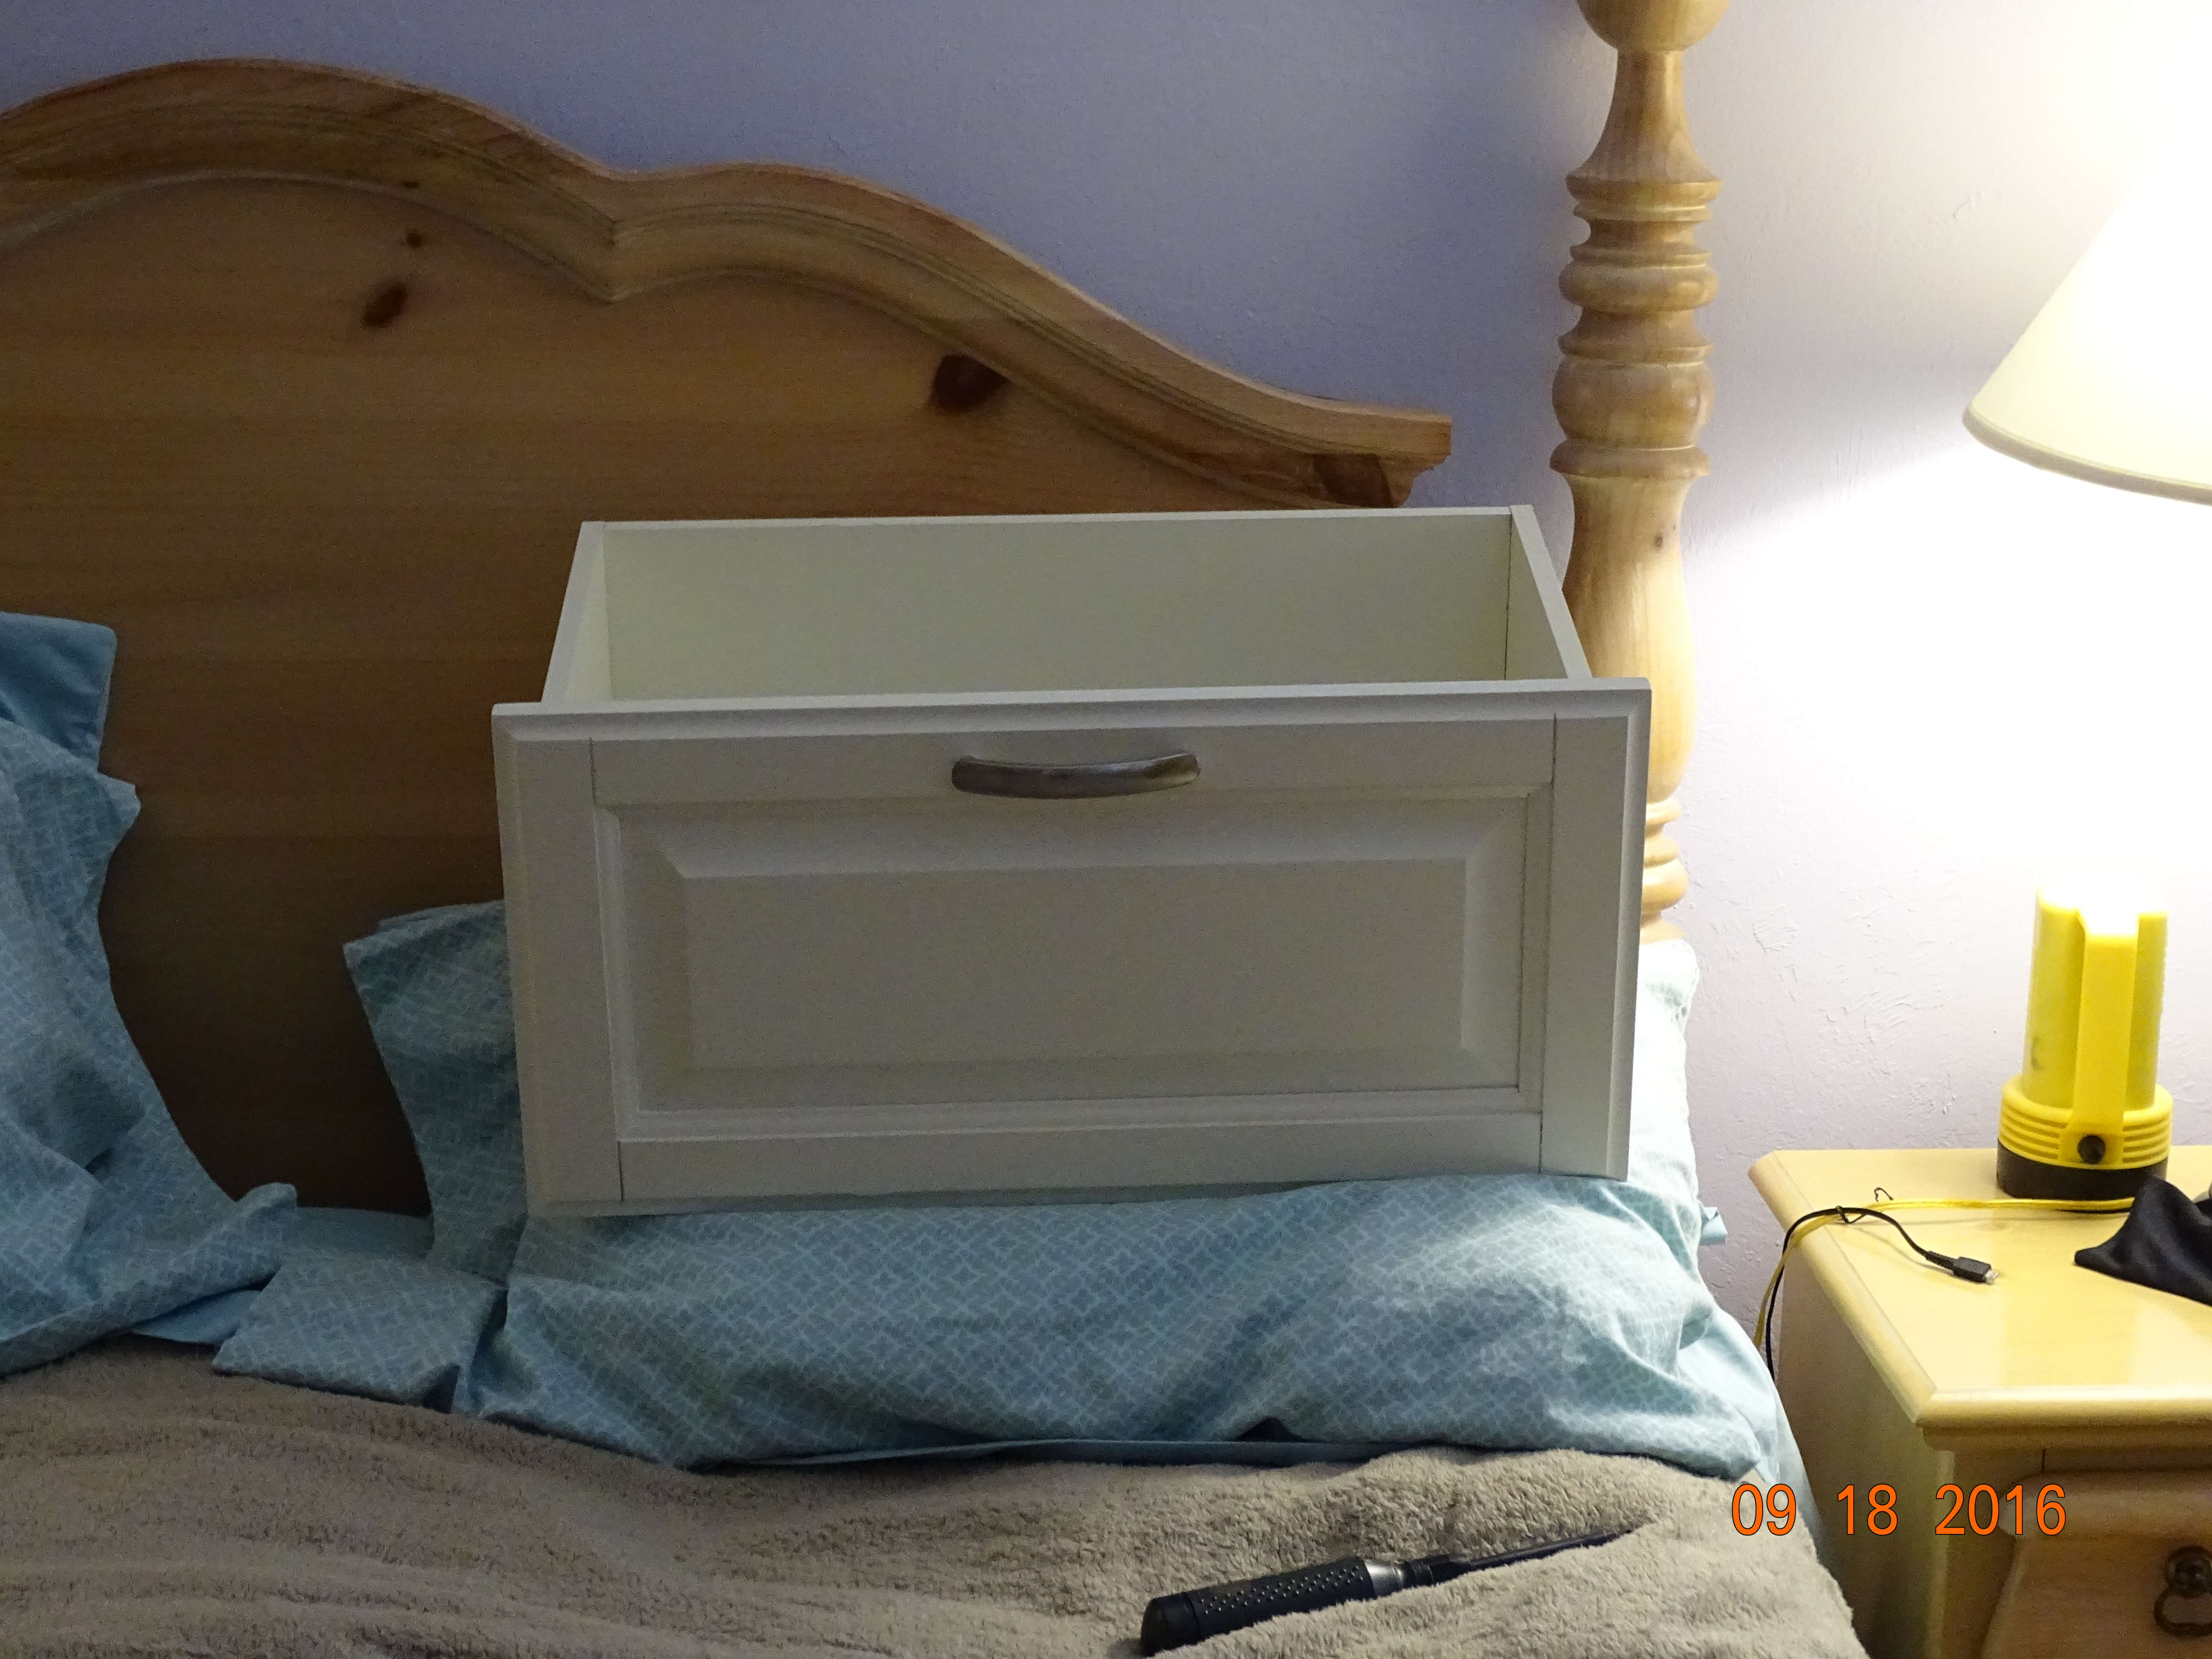
OK, that was pretty easy. I even attached the metal slides on the side. Now lets tackle the “ventilated wood tower”
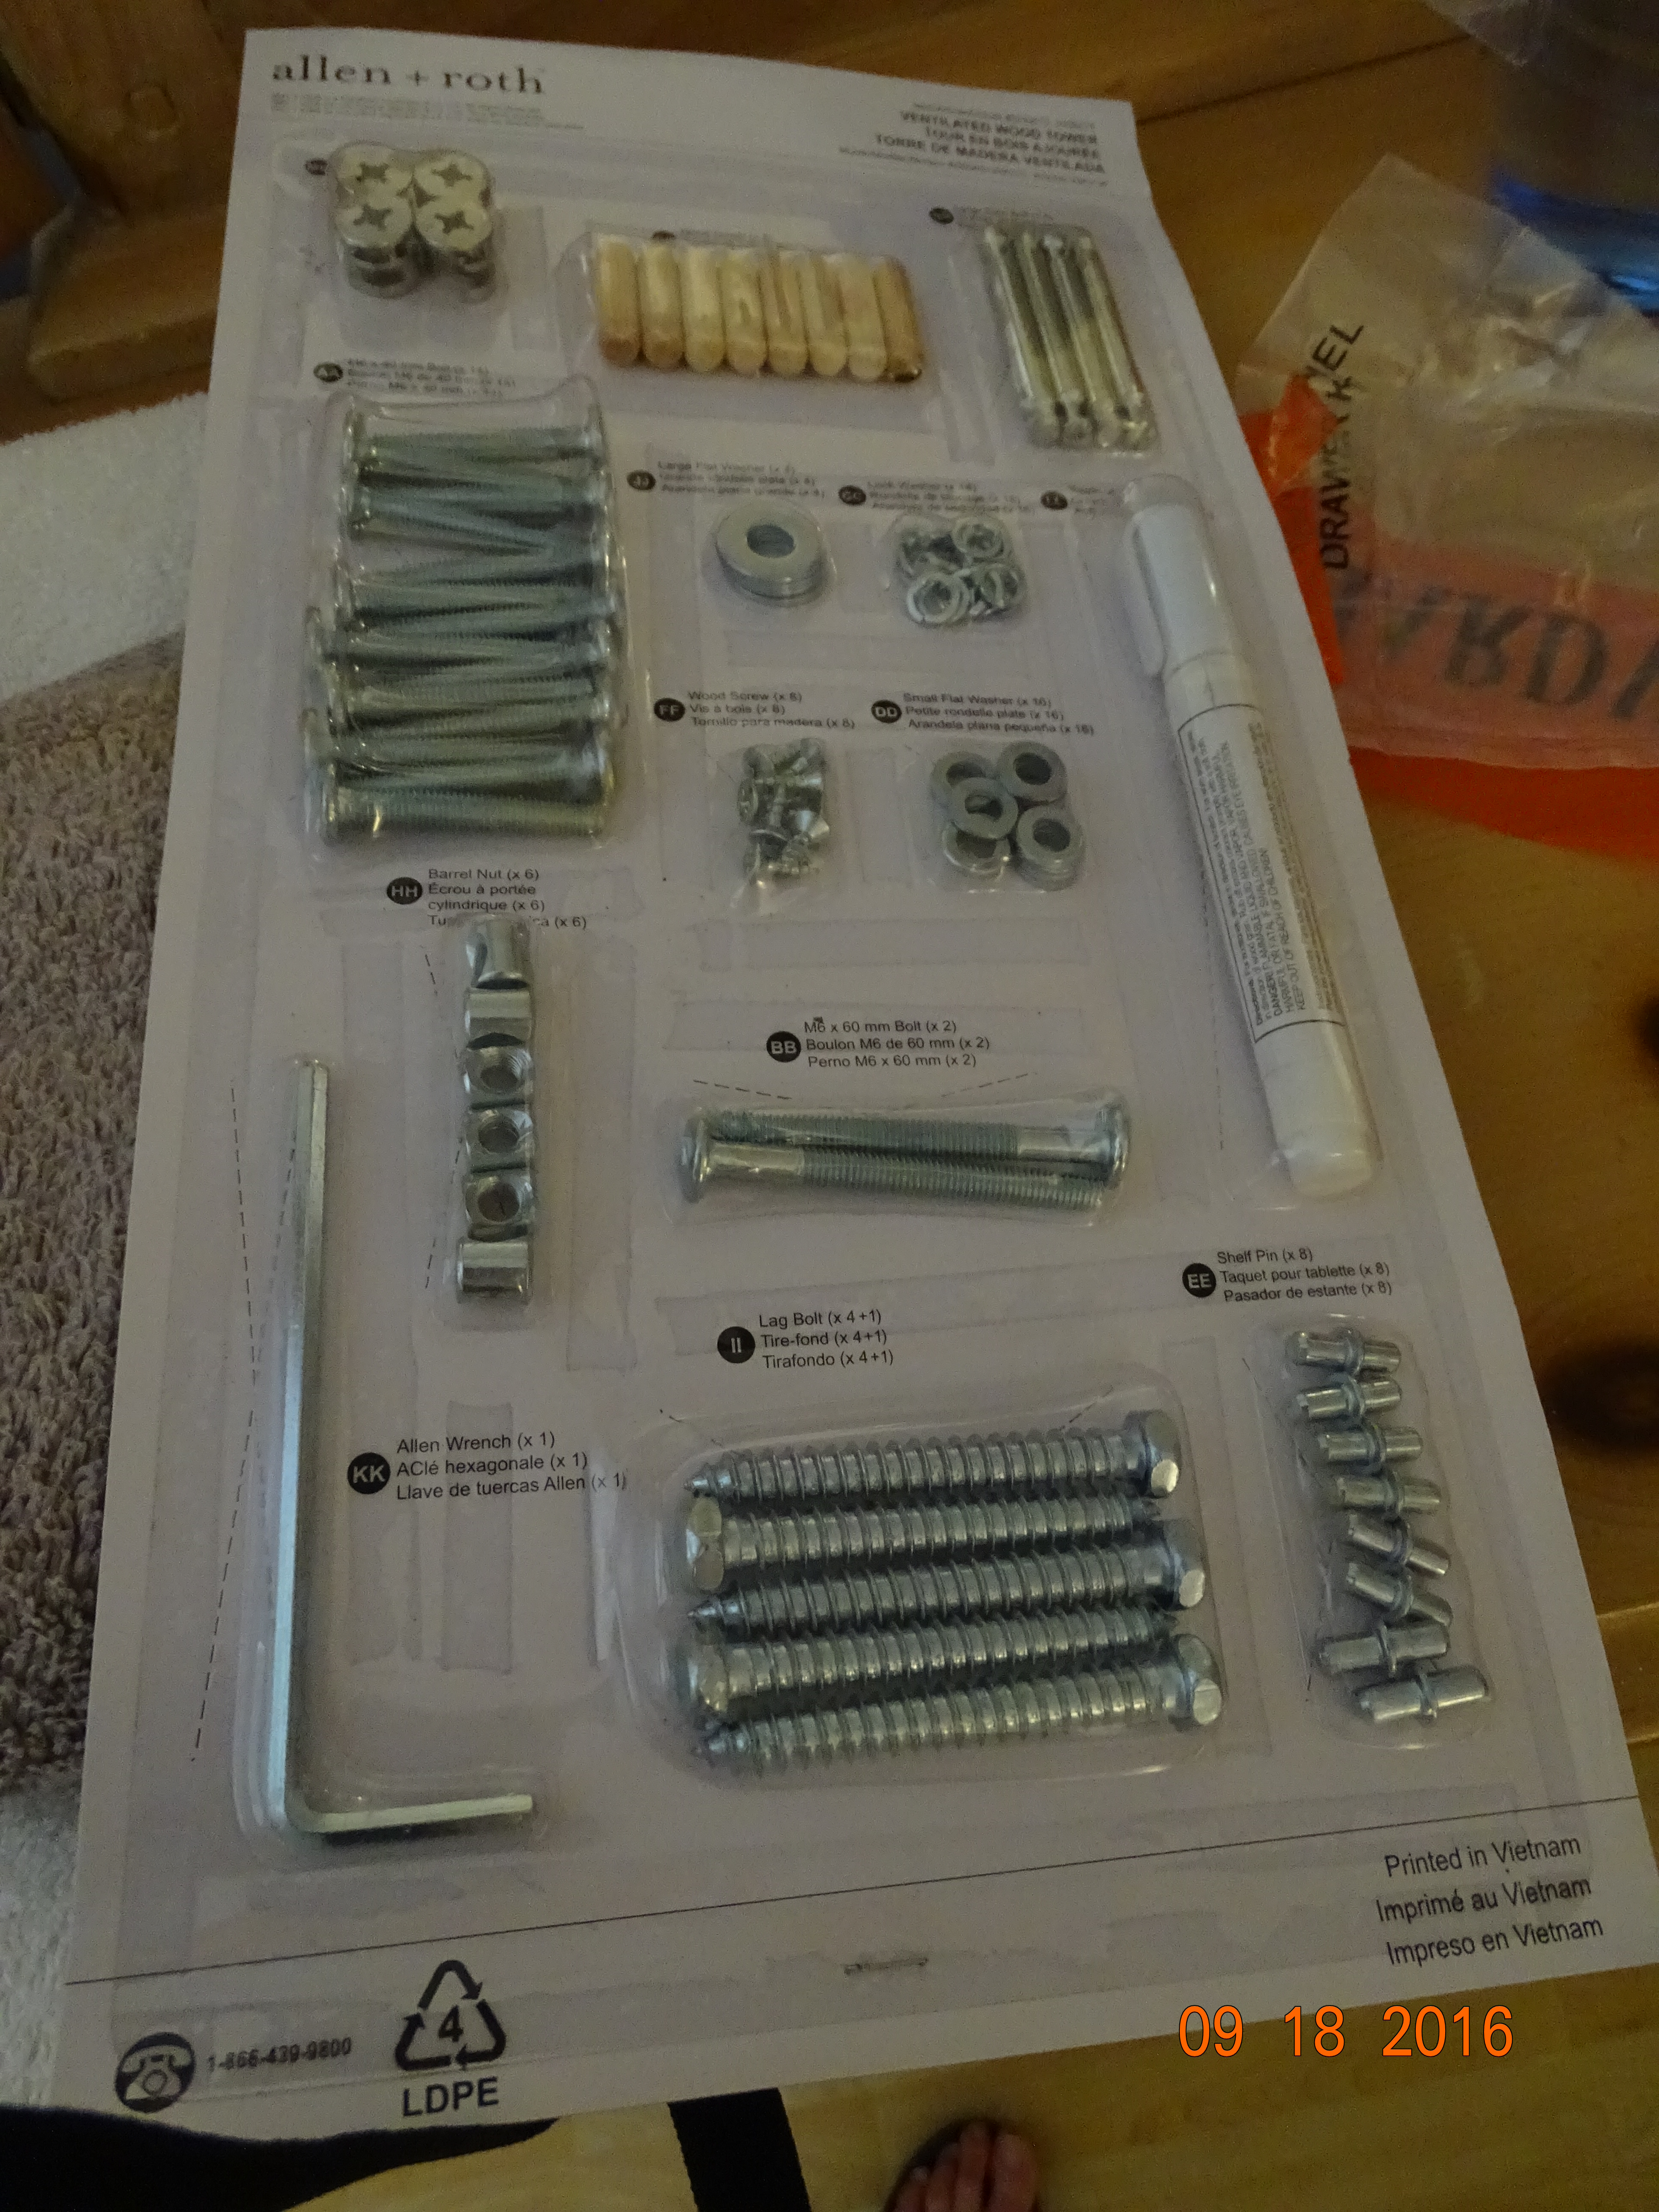
Nuts and bolts
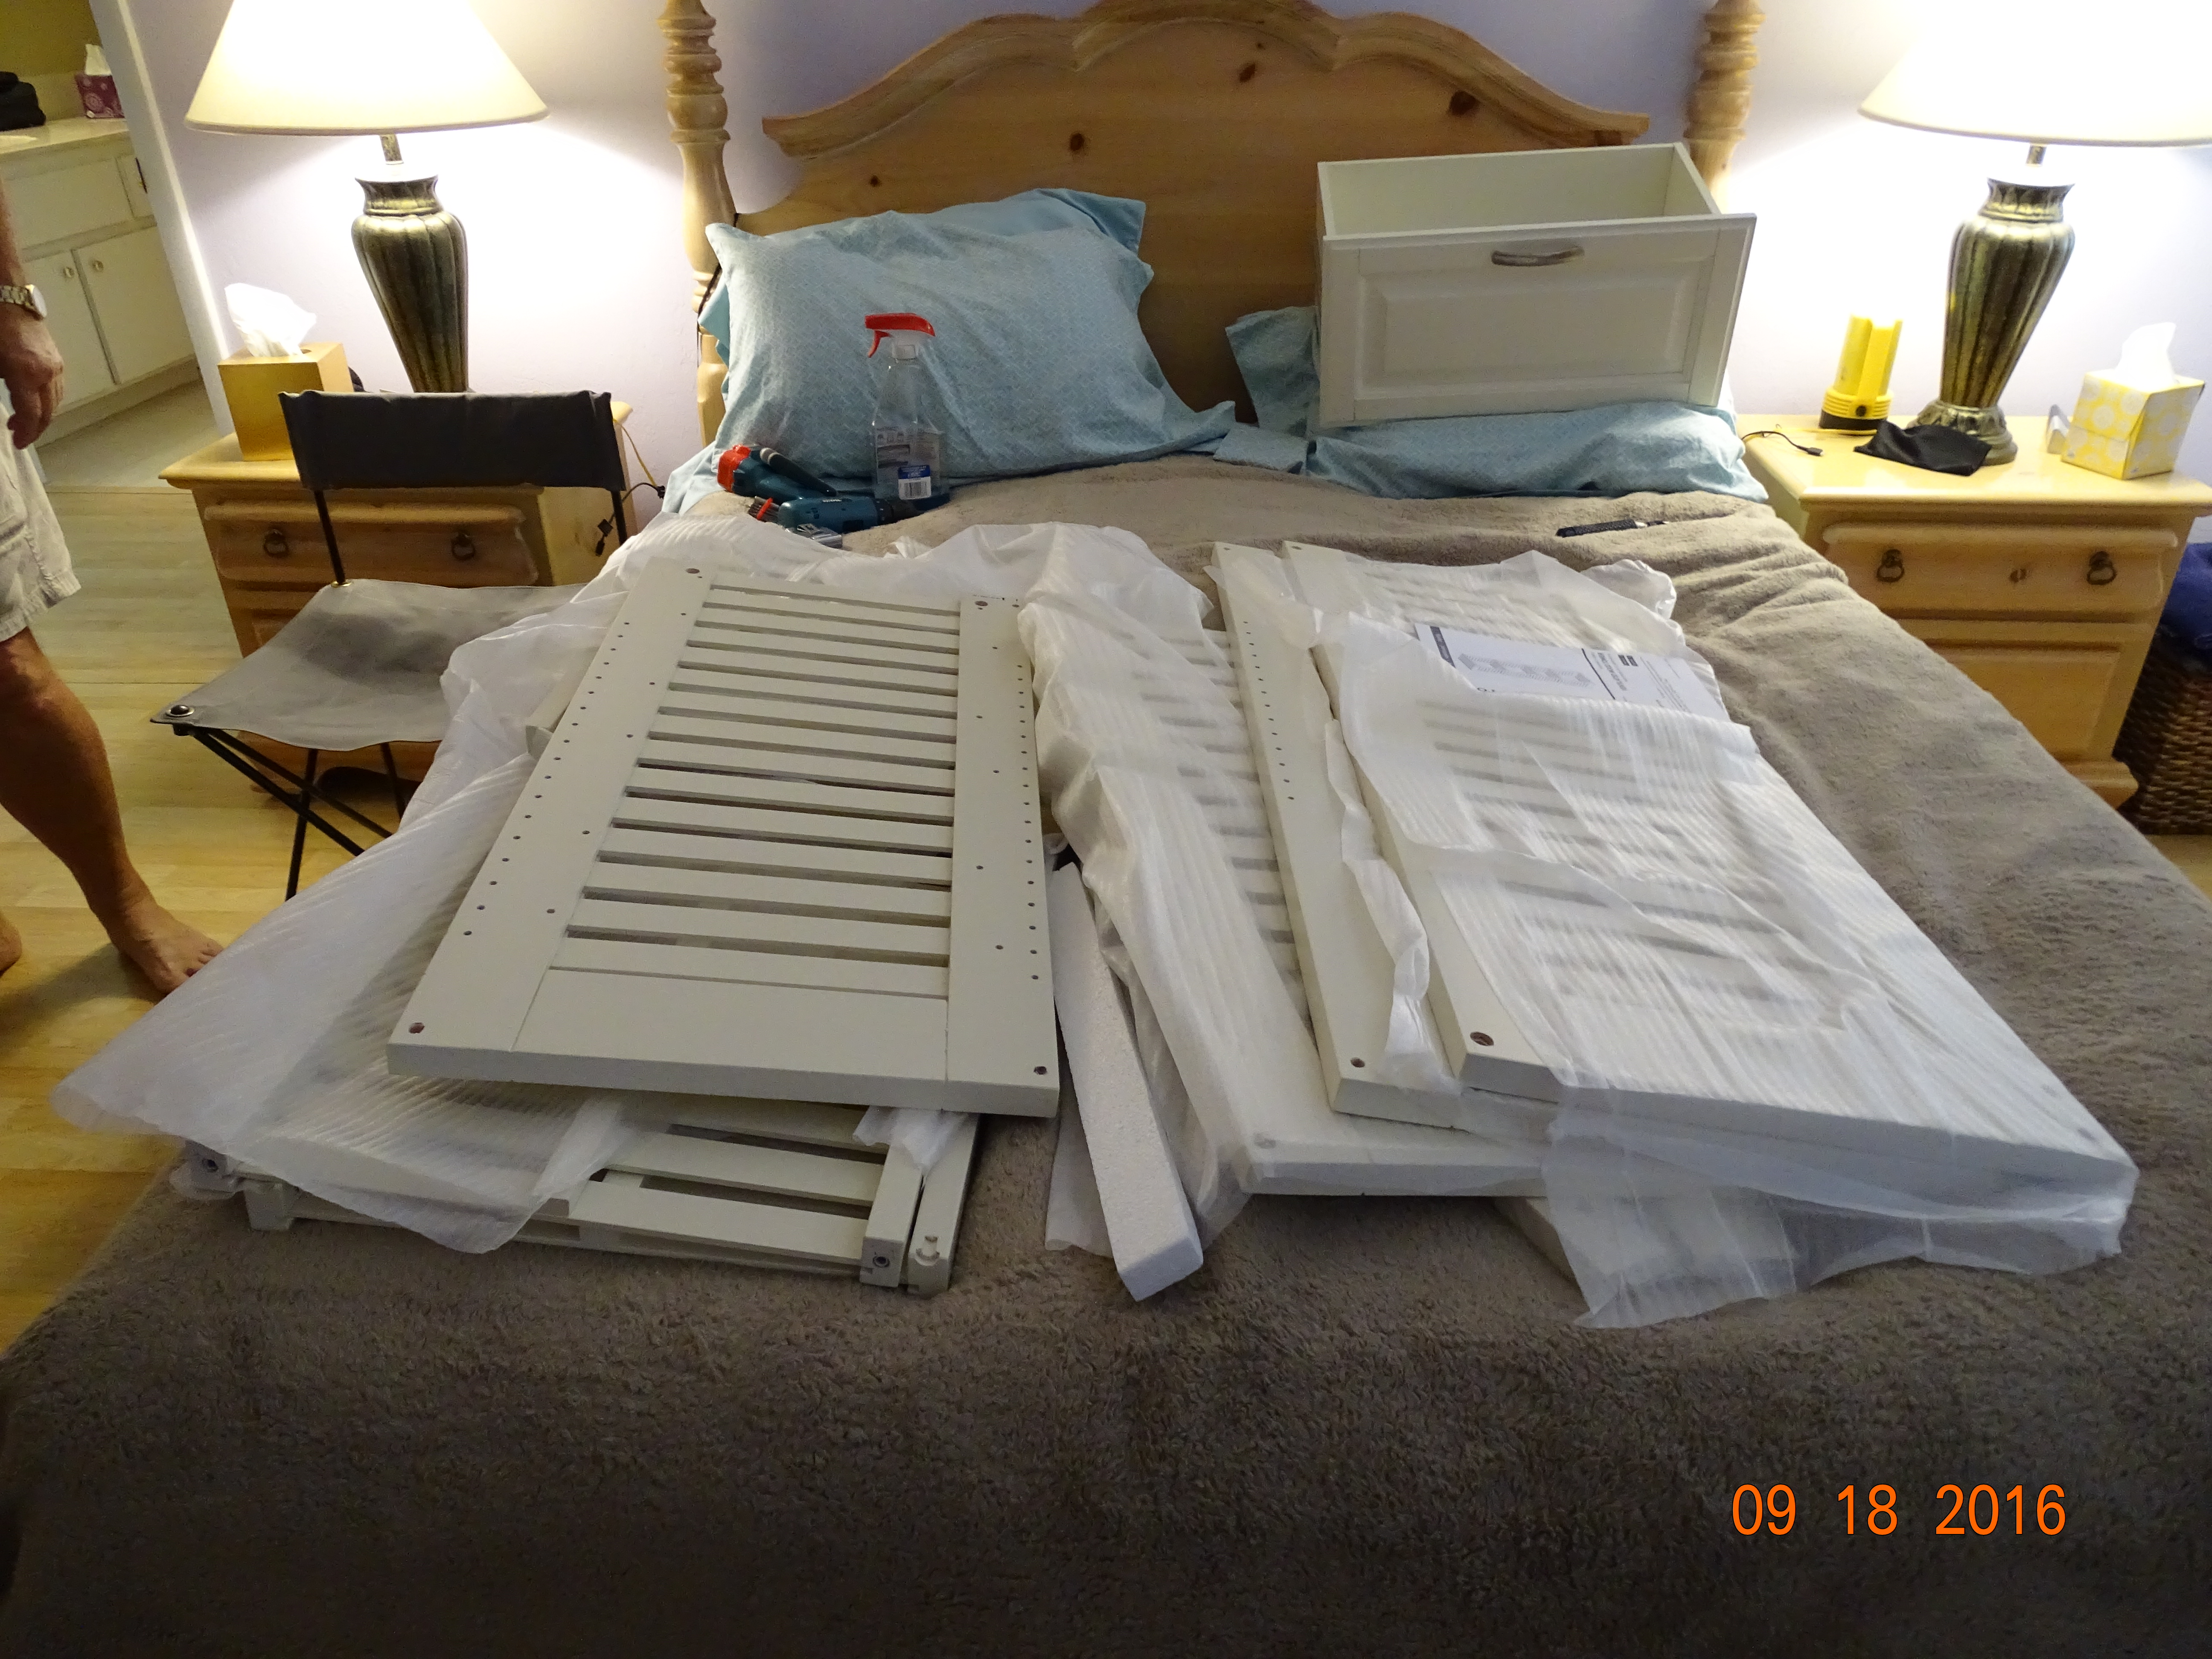
Wood parts
Looks easy enough…..yah right! I’m building the thing on the bed so I have to take a few minutes to get my bearings as I screw things together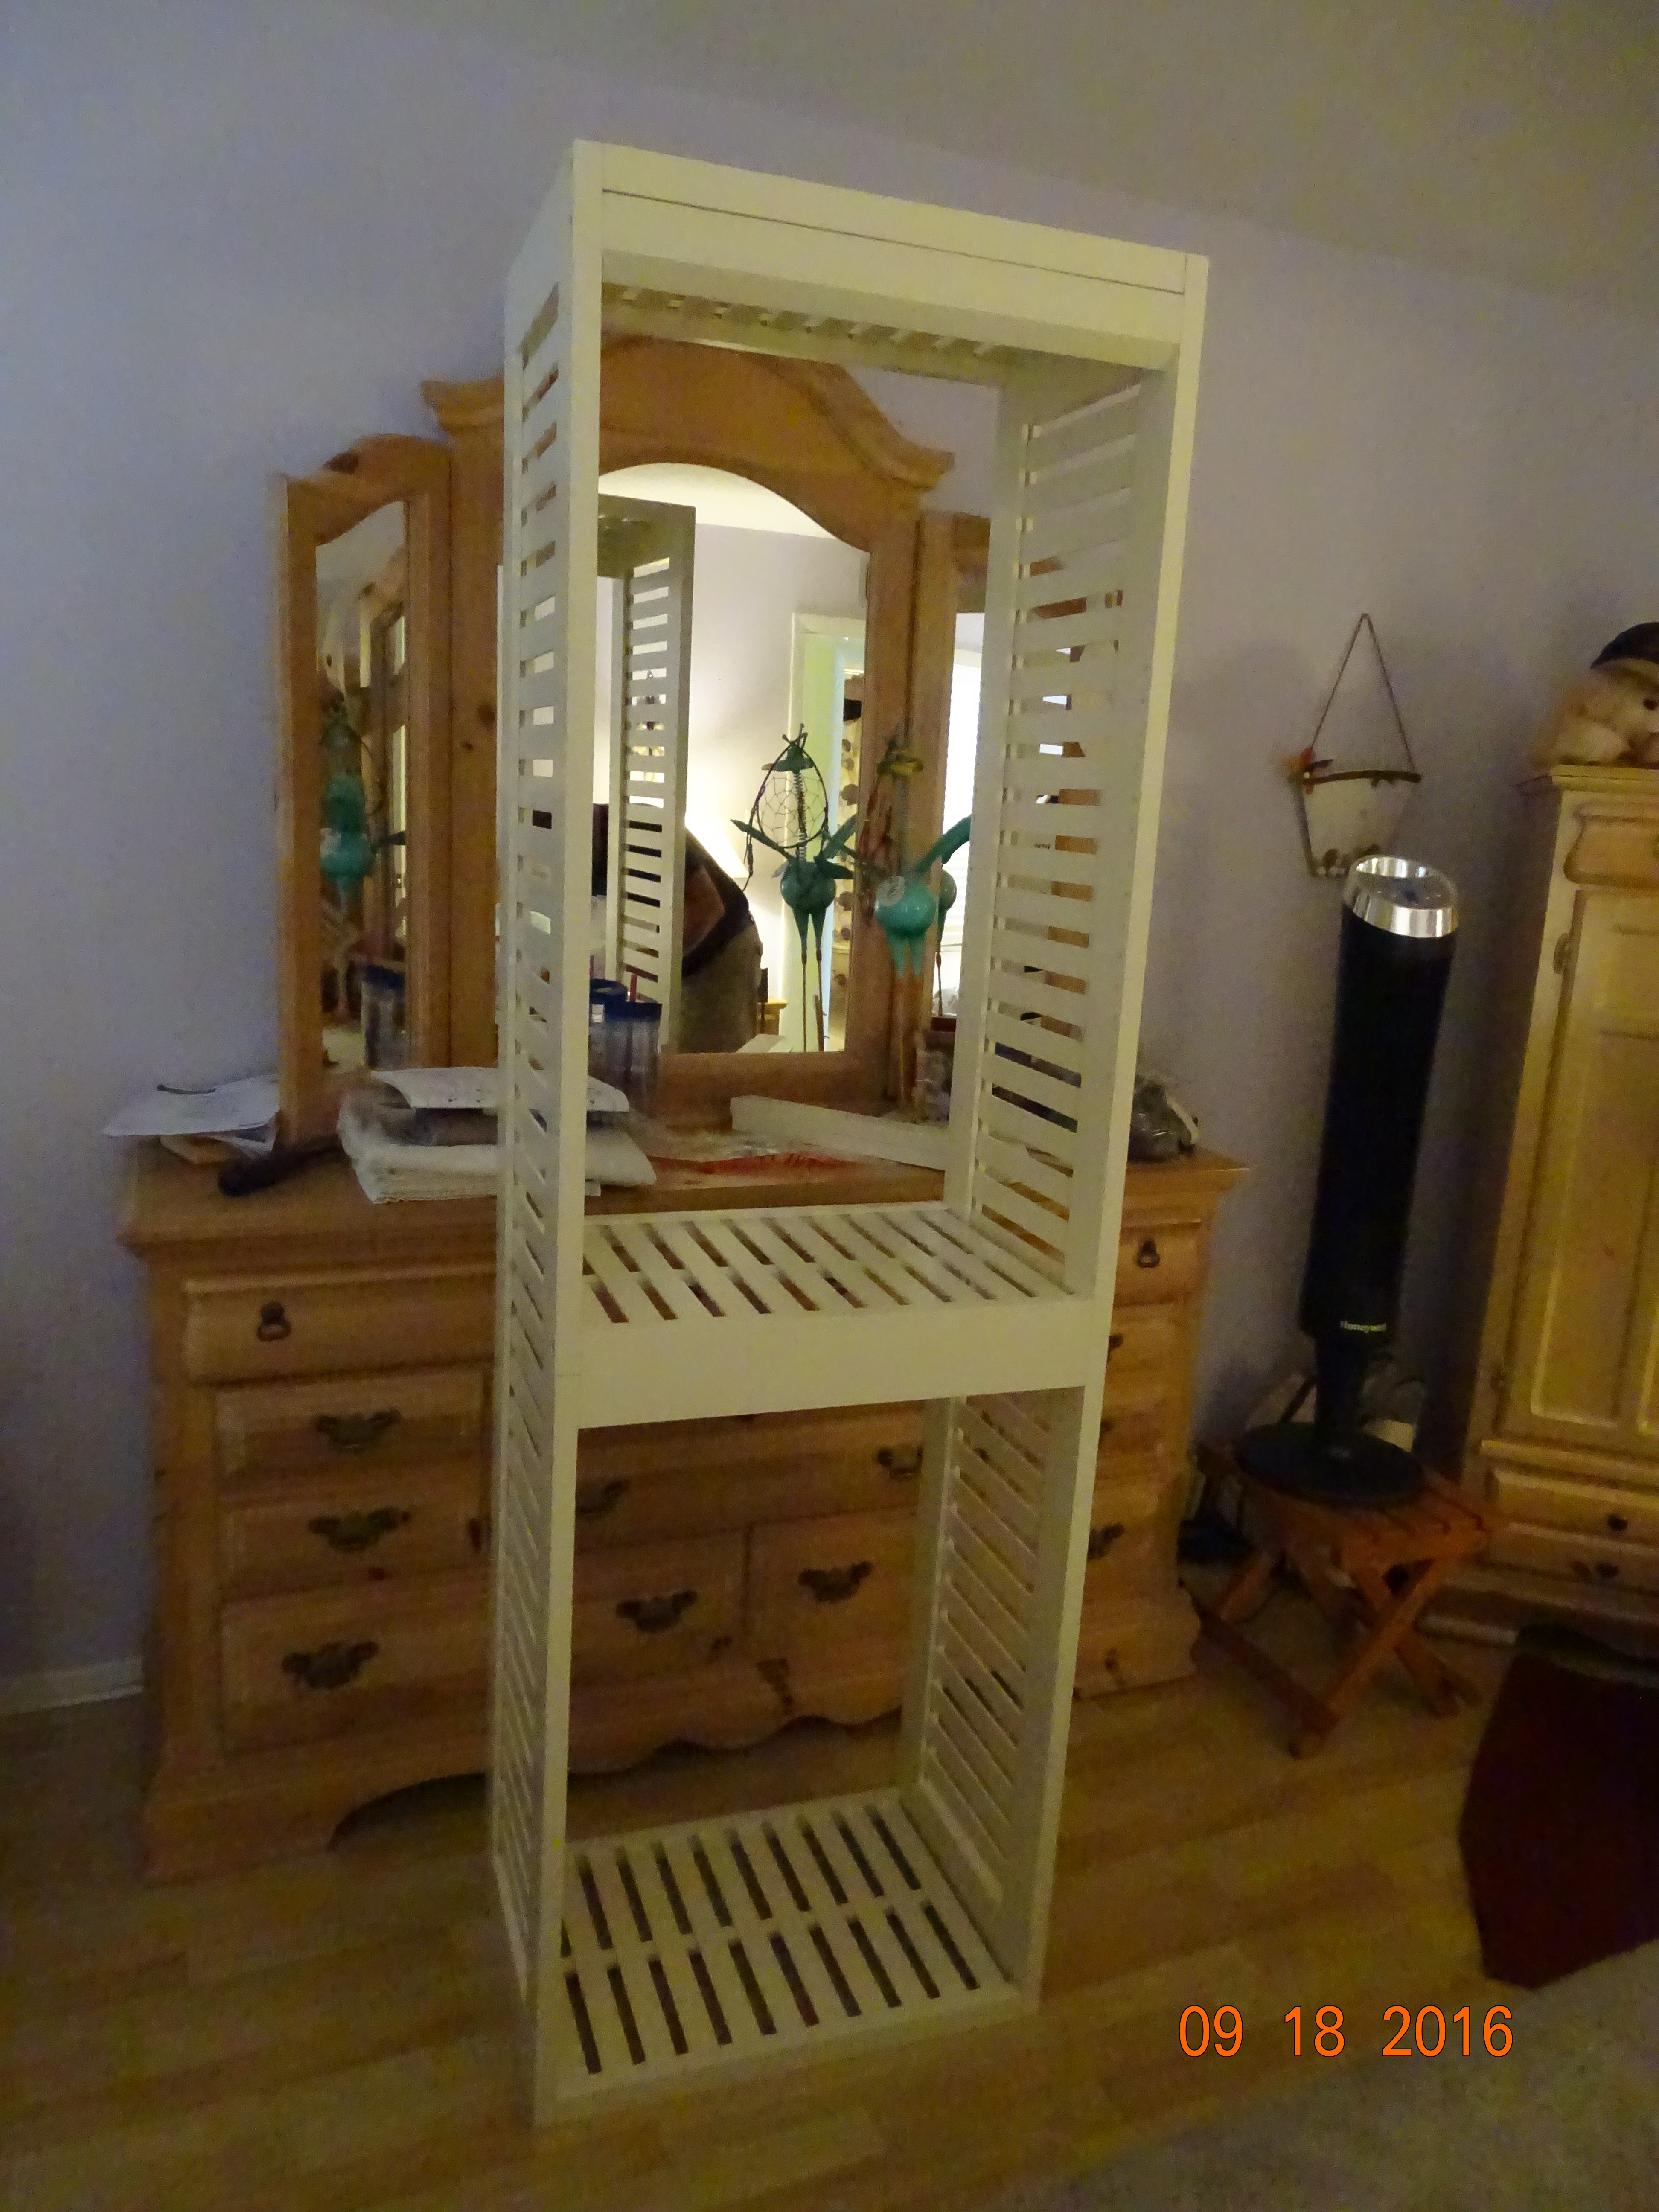 And no one will ever know that I put one of those cross brackets on backwards. You won’t tell, will you?
The next process is figuring out where to put the two sliding wire baskets and the slide out drawer. Sure, they give you directions on how to install them, but don’t tell you which holes you need to screw the screws into. The drawer and wire baskets are options for this shelving unit, so there are holes for shelves and holes to screw this stuff in. After a couple of tries, we got those on. Place the shelves on and whala…..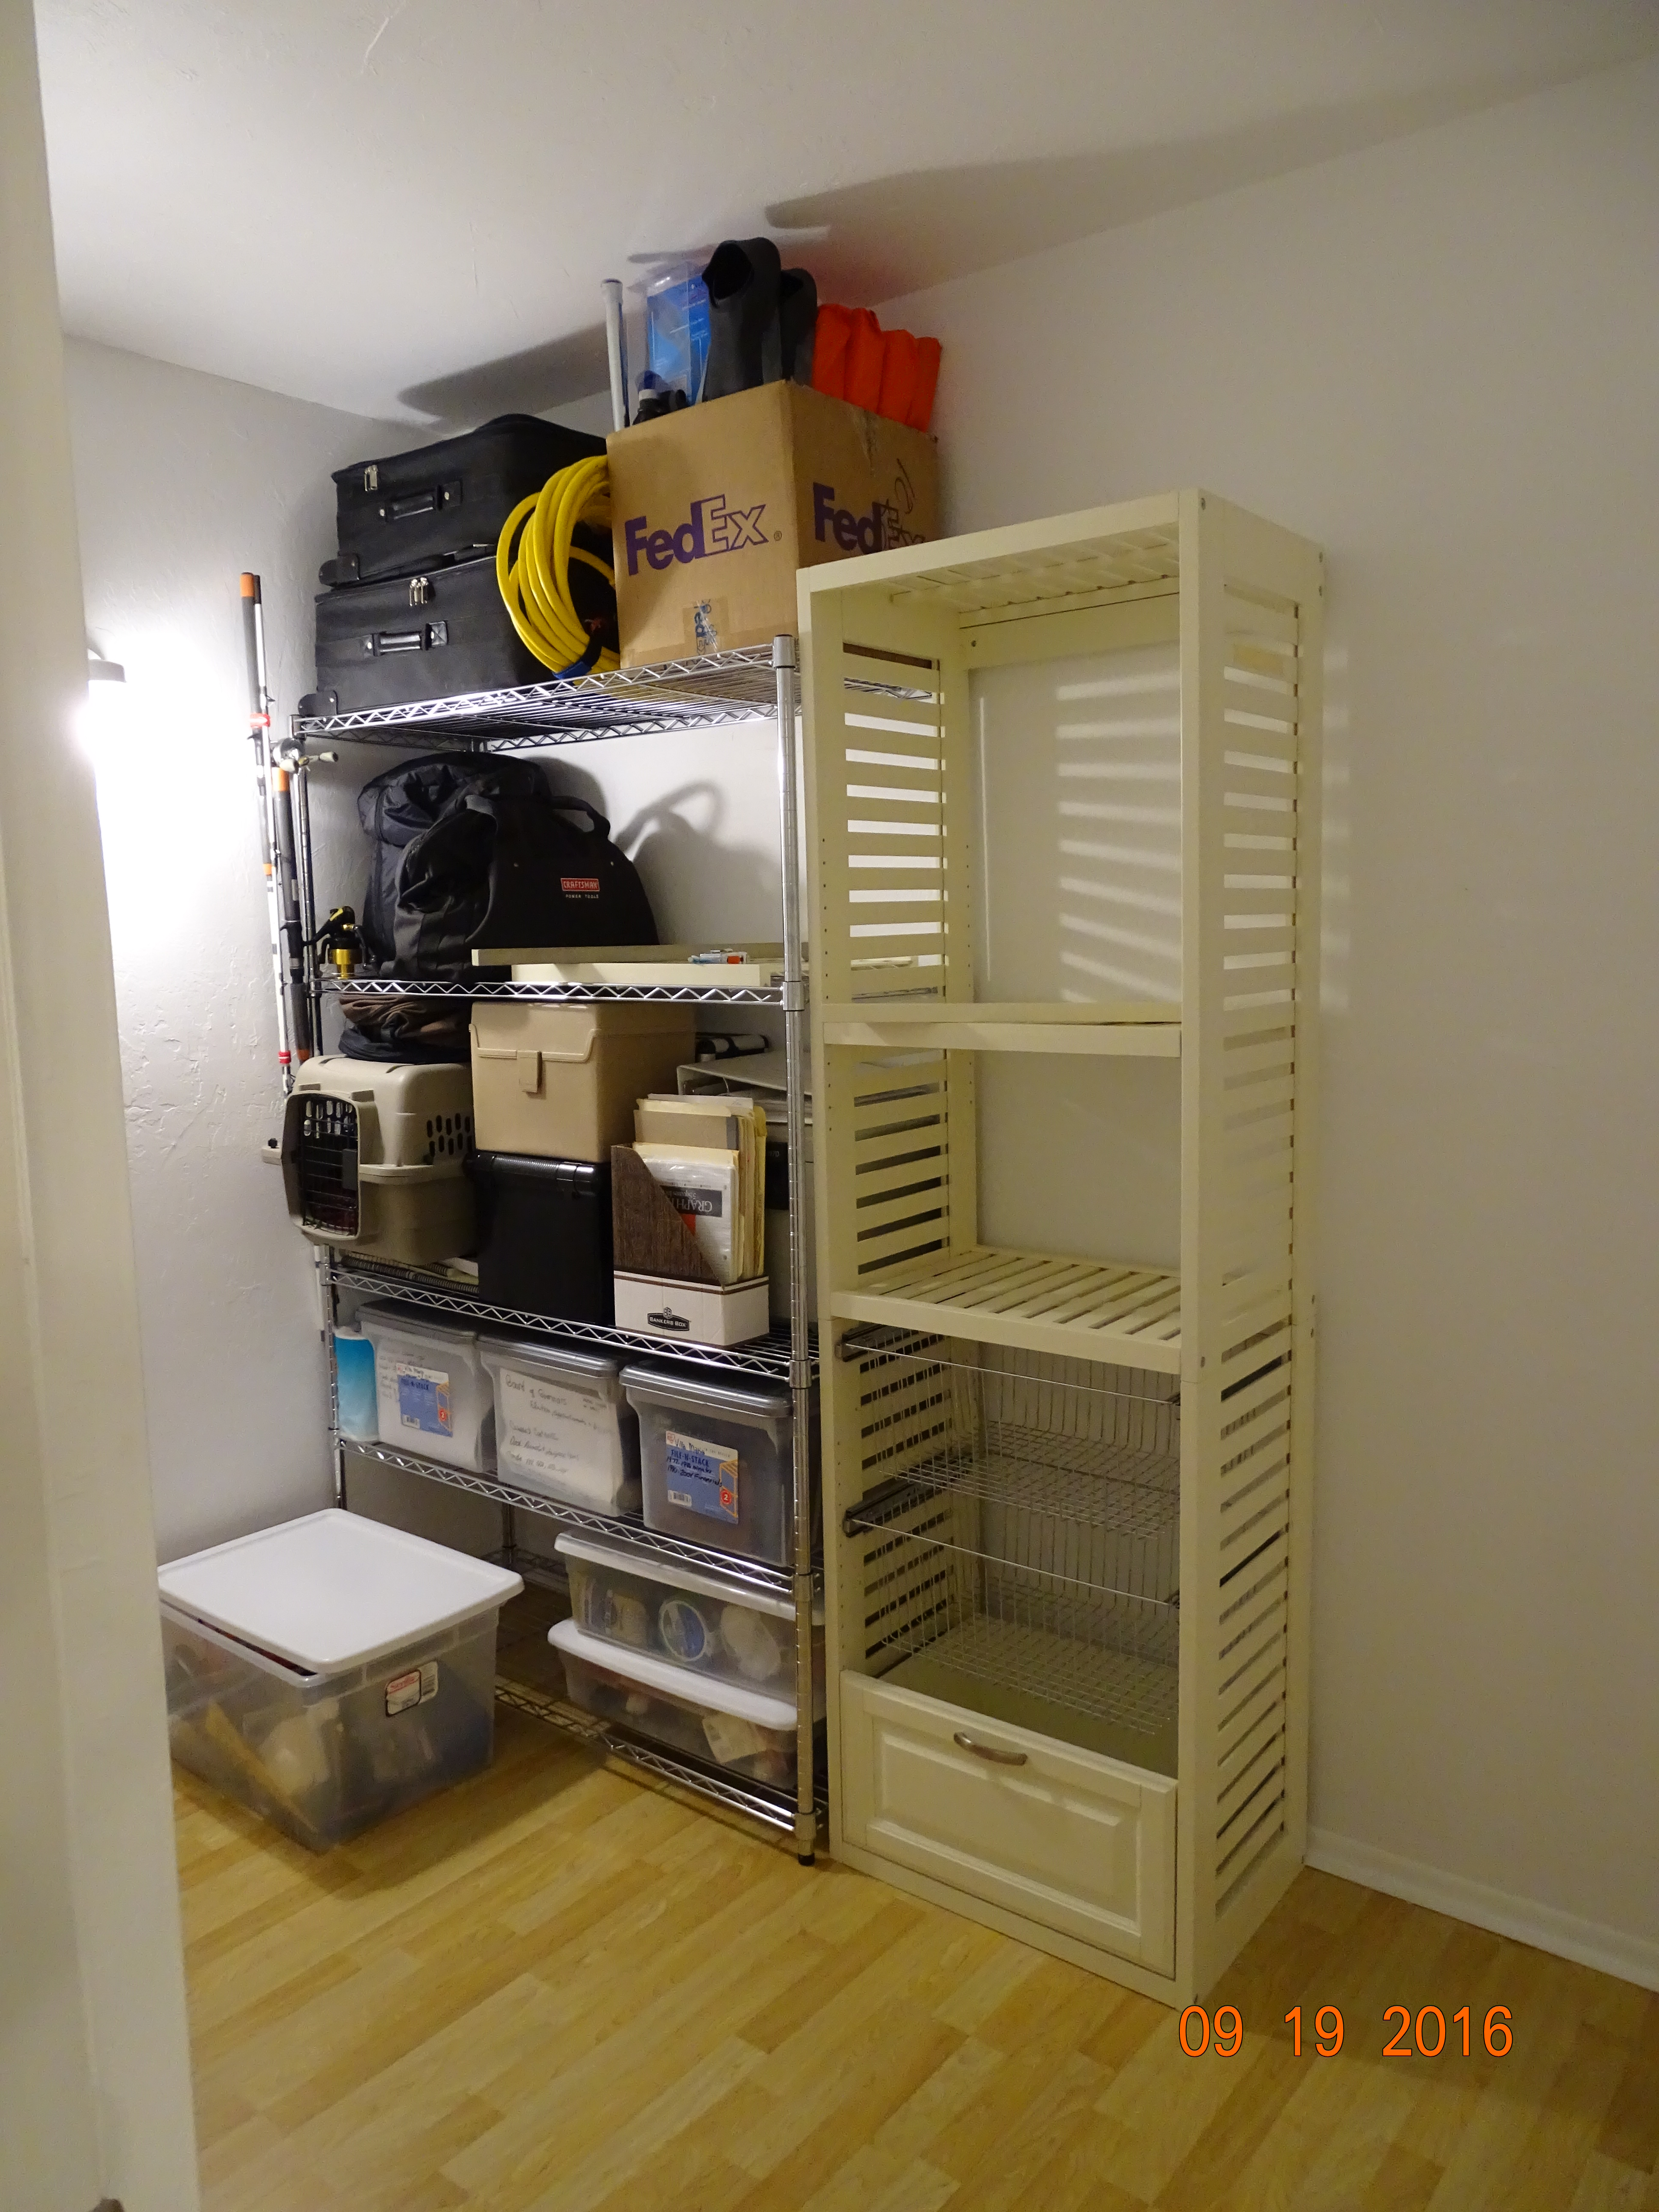 the Ventilated Wood Tower is completed.
Now comes the tricky part. Our wall that we are putting all this shelving on is only 9 feet 5 inches but we have bought 10 feet worth of shelving. So when it comes time to install the Ventilated Shelves, I pass the torch over to Gary. He first assembles the shelf brackets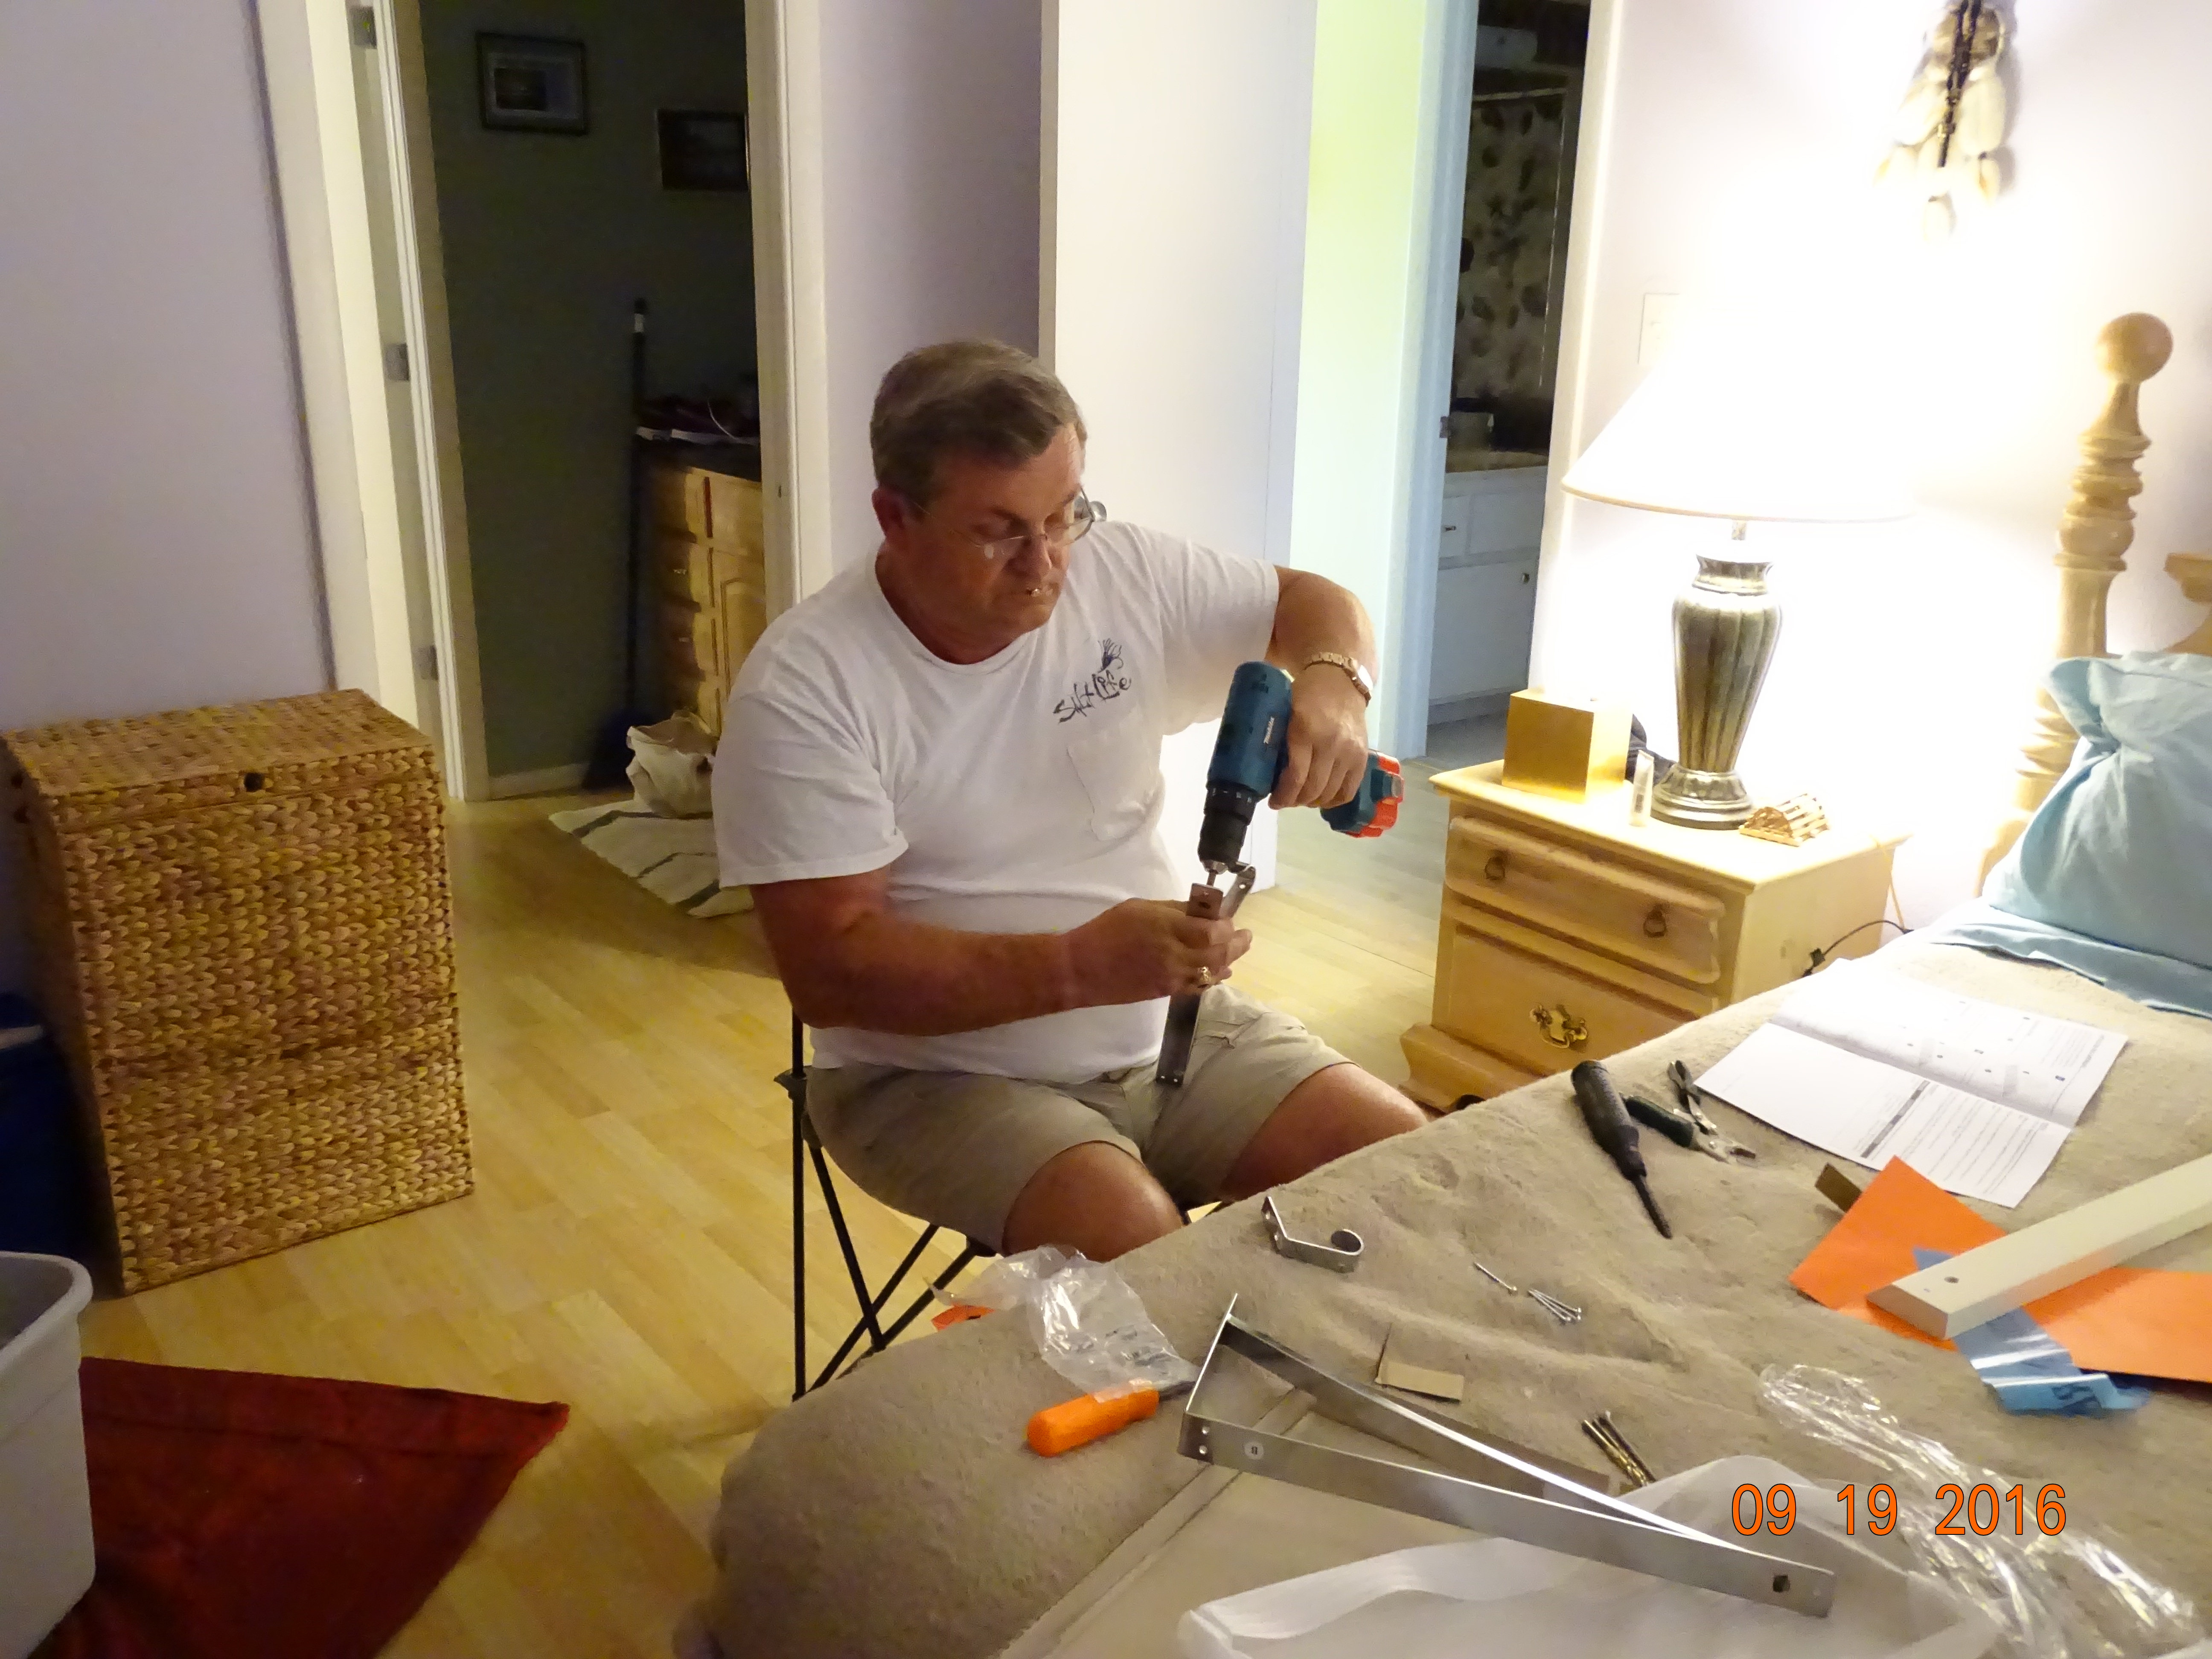
Then he does some measuring on the Ventilated Shelf because we are going to have to cut it off 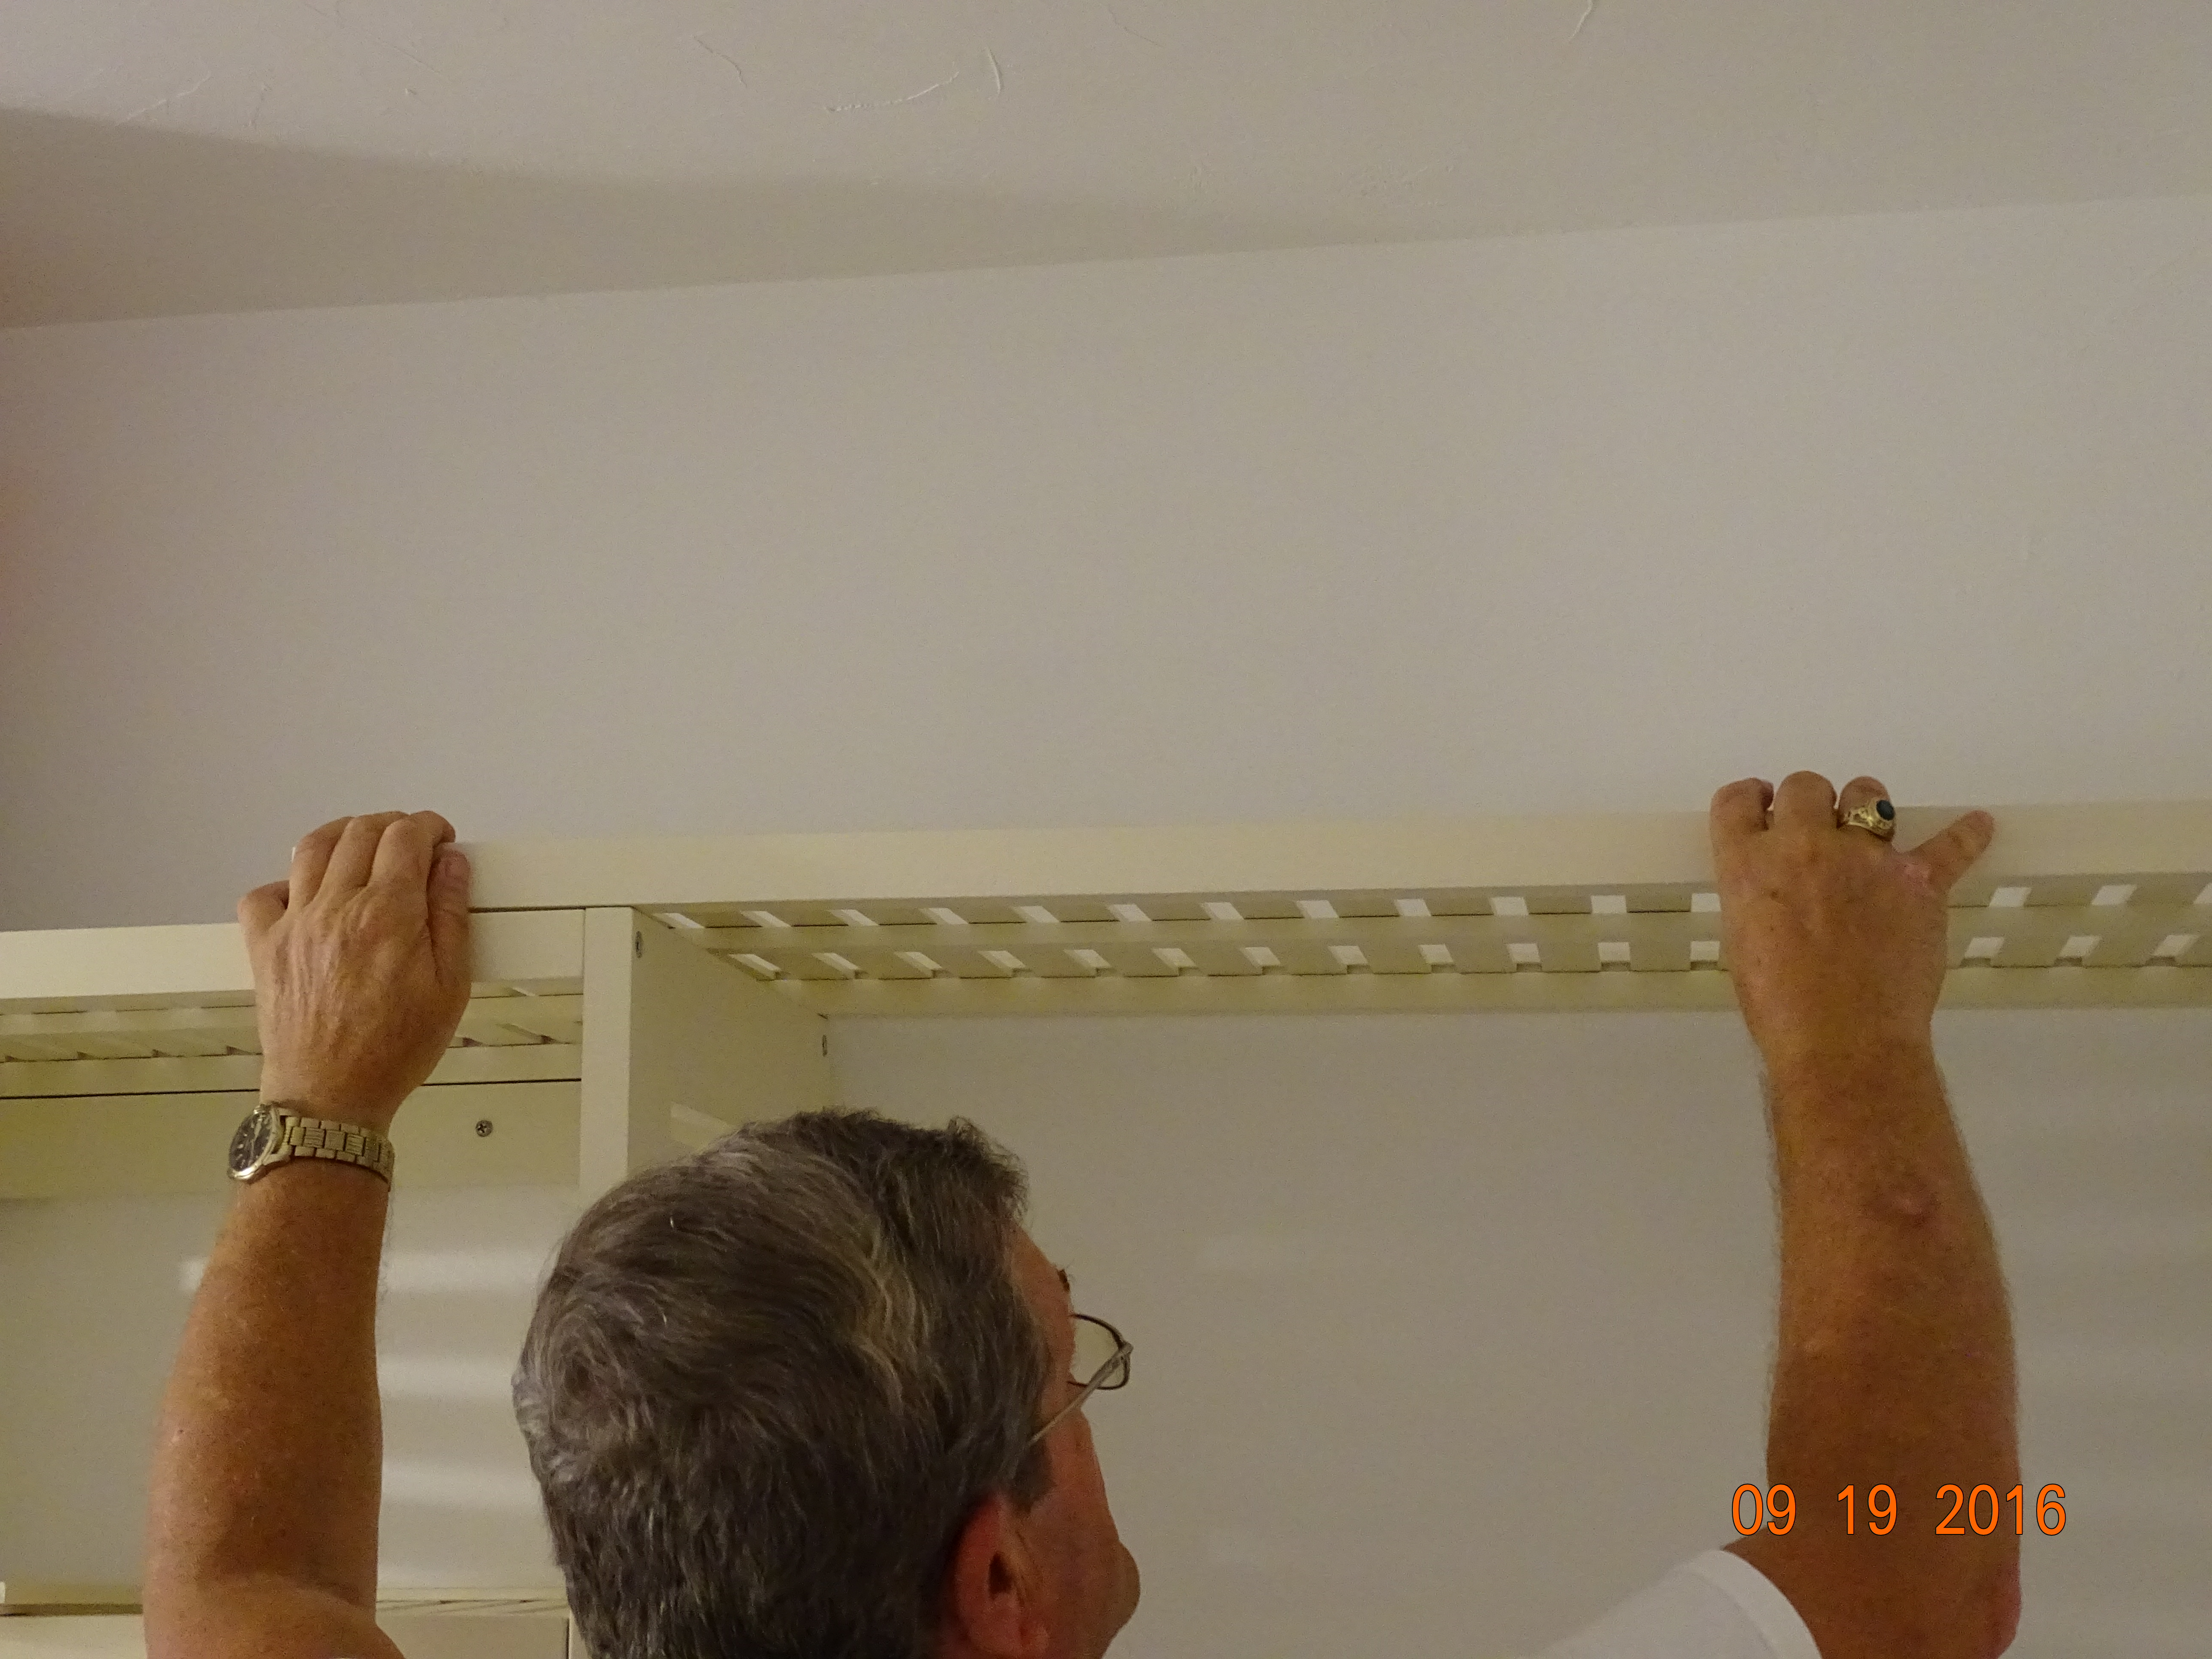 . Then it is off to Ace Hardware because we had to install the shelf brackets where the studs are and now we need a couple of “L” brackets to screw the shelf to the tower. He does the same process to the other shelf, anchors all the shelving to the studs and we are good to go!
I put my stuff on the new organizer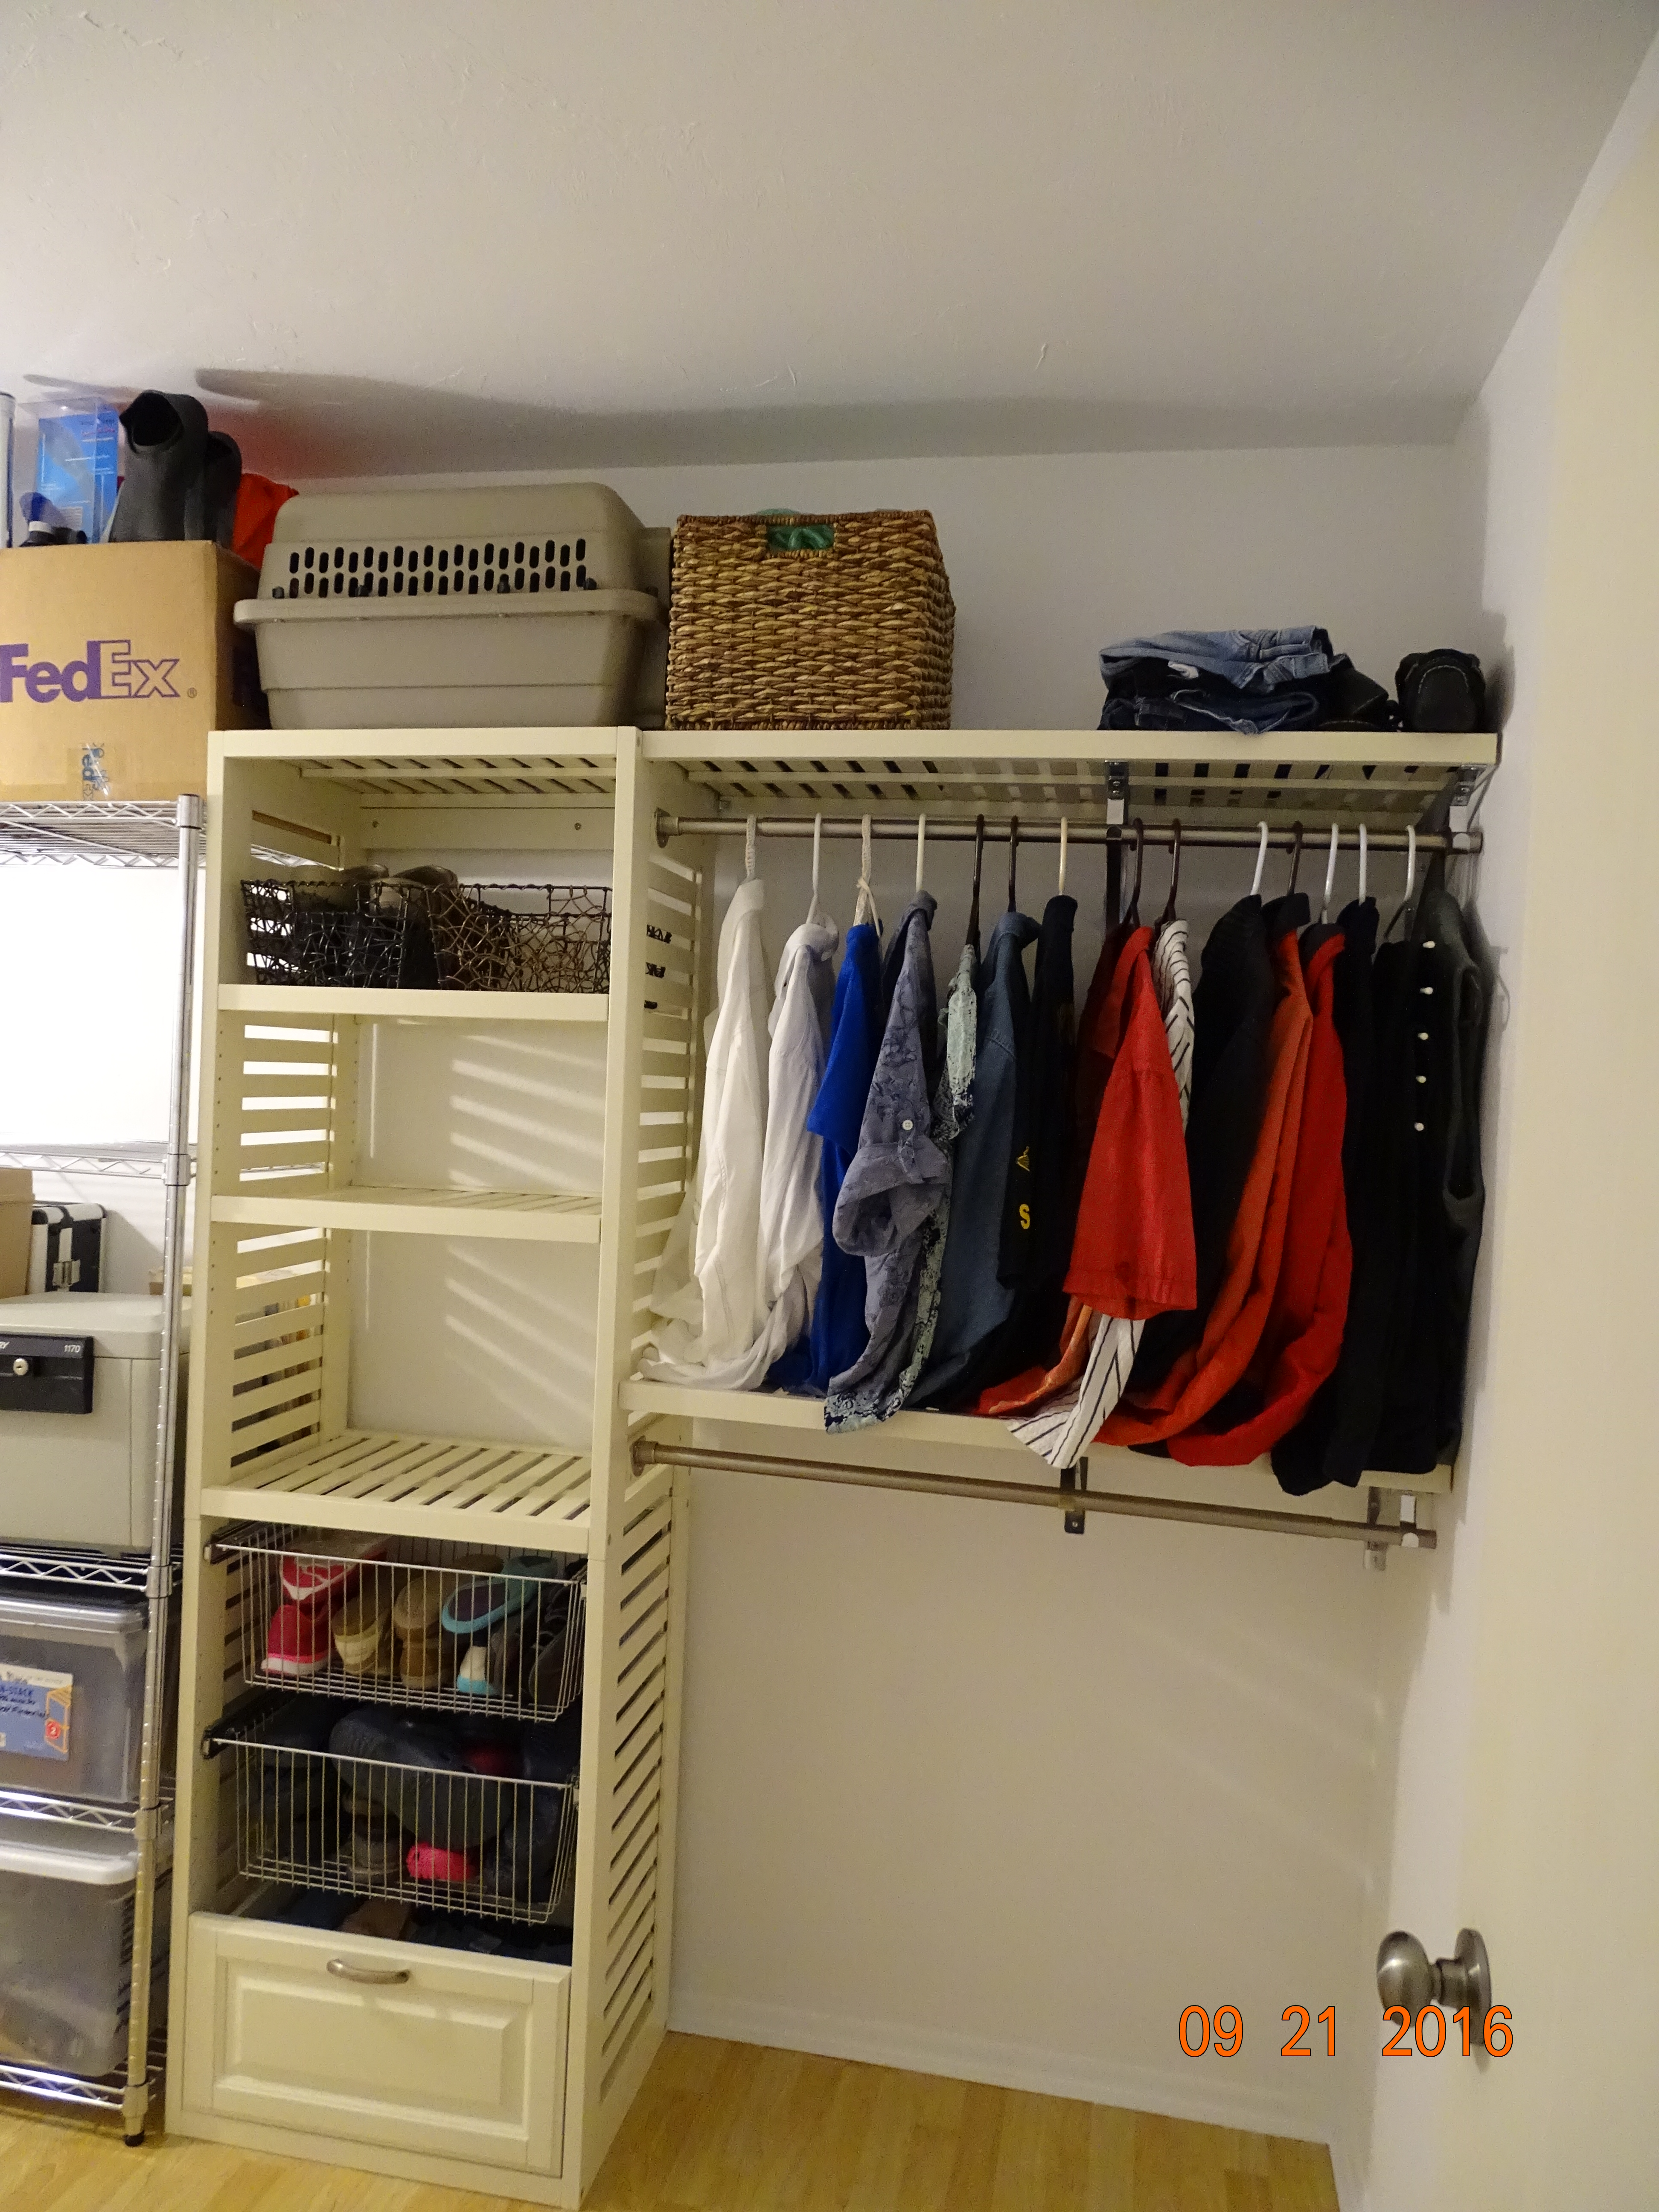
I think there is something sad to say about a person that only needs 15 hangers to hang up their clothes. And 5 of those hangers have coats on them :(. Don’t anyone die anytime soon, I apparently have nothing appropriate to wear :).
So this was a good time filler while we waited for the boat to be fixed. It kept us both out of trouble.
